|
Space has always held fascination for me. In my youth I loved Star Trek, Star Wars and Battlestar Galactica. I have also lived most of my life in locations with little to no light pollution thereby allowing unencumbered viewing of the night sky. Photographing the stars however has always seemed out of reach. Until now. Like many landscape photographers I would turn off my camera when the sun went down. As I strive to expand my knowledge and skills in the craft of photography, shooting at night seemed a natural area to explore. Being a relative novice in this area I quickly discovered that to achieve good results a number of stars must align properly (pun intended). 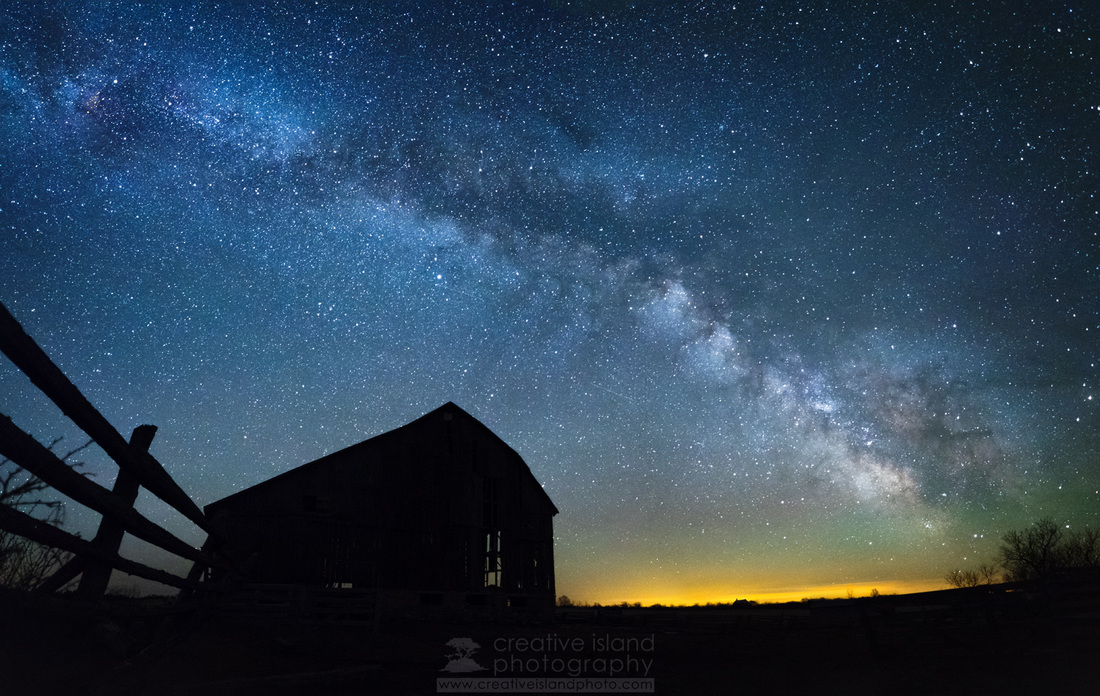 This old barn and fence made for an interesting subject with the Milky Way as a backdrop. As fate would have it, the barn blew down in a wind storm the day after I shot this image. Go figure!
22 Comments
Photographs don't just happen. They all require varying degrees of four decision-making processes.
 This image is made from 12 separate photographs. It is 8000 x 7000 pixels with the final Photoshop file coming in at a whopping 1.02 GB. Resizing Photos Most modern DSLR cameras produce images that may be well over 5 MB in size and over 4000 pixels on the longest side. If you plan on uploading your photos to Facebook or a photo-sharing site, this is much larger than required. Even with larger monitors are size of approximately 1000 pixels on the longest side is more than sufficient. Follow the steps below to practice resizing an image. 1. Download the photo below and save it to your desktop - right mouse click on the image and select, "Save Image As...".  2. Using your web browser, go to www.pixlr.com. Choose the Photo Editor. Select "Open Image from Computer". 3. Once your image is open, select "Image" from the menu and then, "Image Size". Drag the slider so that the longest side (in this case the horizontal slider) is at 1000 pixels. Keep the "Constrain proportions" checked. 4. Save the image to your computer as a jpeg file. NOTE: Make sure to rename the file or you may end up permanently replacing the original image with a much smaller file. Watermarks A watermark is a faint logo or piece of text that helps identify the owner of the photo. This may help prevent viewers from stealing your photos, or at least force them to do some serious repair to the photo if they do decide to claim it as their own. Follow the steps below to create a simple watermark. 1. Open up the photo that you would like to add the watermark to. 2. Select the Text tool (In pixlr, the text tool symbol is the letter 'A') 3. Click somewhere on your photo and a new menu pops up. Choose a font, size, and colour of the text. 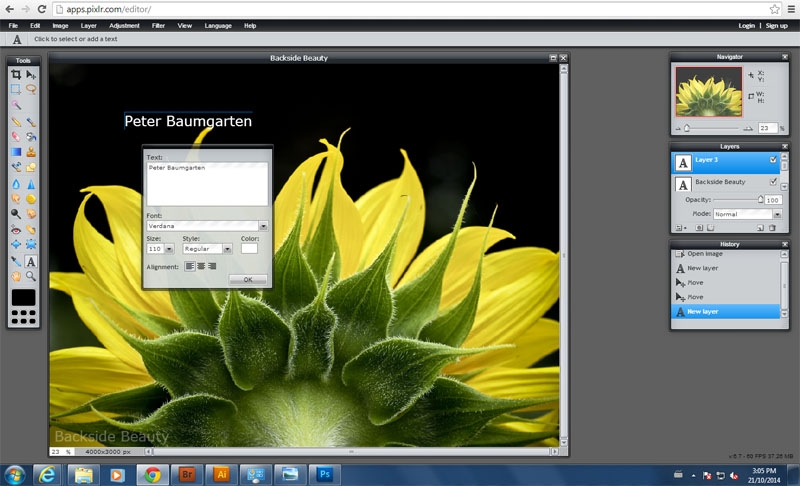 4. Move the text to wherever you'd like using the black arrow tool. 5. Watermarks are usually translucent. To change the opacity of the text layer, choose the "Toggle Layer Settings" button on the Layers palette. 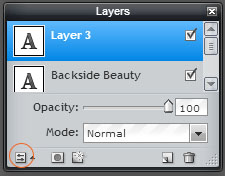 6. Save your image under a new name. Saving the photo as a jpeg will flatten all of the layers into one, which means the text is no longer editable (the whole point behind a watermark).
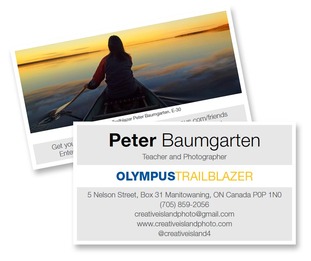 It still makes me giddy thinking about it. Me, an Olympus Visionary. Well, actually "Trailblazer" to be more specific.
I've always loved my Olympus cameras. It's the only brand I've ever shot with. I started with the OM1n back in the 70s. A young, skinny teenager who would spend hours hiking through the country side where I grew up, carefully composing a shot. Only when I thought it was perfect would I press the shutter. Every 'click' cost me money so composition was key. Years later I looked through the thousands of slides I'd taken and only a few were really any good. But I did learn a lot about photography. Fast forward to 2001. During the previous 15 years I'd hardly picked up the camera. Teaching career, family, home renos - these were my priorities and I consumed them wholeheartedly. My children didn't want to hang out with dad all the time, my career was on track and I needed a hobby again. I decided to invest in a new-fangled digital camera. My Olympus had never let me down, so I thought I'd give it another go. I purchased the small Camedia 3040z at a cost of $1200 for a whole 3.2 megapixels. Yikes! (I can't believe I spent that much!) Alright let's speed this reminiscing up a bit... I then upgraded to my first DSLR - the E-500 (great camera - really loved it), then the E-510 (which I eventually gave to my dad) and the E-30. All of these models were at least one step below the company's 'professional' cameras, but that was okay. I wasn't a professional. And I really liked the image quality of each of them. So, how do you get noticed by a major camera manufacturer? Believe me, I wasn't trying to get noticed. I just liked to post my work online. In 2009 I started posting on the Canadian Geographic site and in 2011 I started on 500px.com. In 2012 I received my first request from Olympus asking if they could post some of my photos on their Facebook page. They had seen my work on 500px. I was honoured, but didn't think much about it. Those requests occurred two more times and each time I was pleased to be asked. Then came the big phone call. In March of this year I received a request for an interview. I had just had a small interview for a photography magazine in the UK so I assumed it would be something like that - "Tell us about your photography." "Why do you shoot Olympus?", etc. The interview was nothing like that. "Hi Peter. We've been following your work for several months now and we like what we see. Have you heard of the Visionary Program?" ...and the rest, as they say, is history. This blog post is set up for the Cambrian College Spring Photography course. Students will be downloading images and using the pixlr.com website to edit their photos. Select the file "Exposure 1" and download it onto your desktop. You will be opening it up in the pixlr.com photo editor and working on improving the exposure.  Repeat the process using the image below.  post-processing: Hue & saturationMost cameras can accurately reproduce colours depending on the settings. At times you will want to adjust the hue or saturation in an image. Download and open the following image and use the Hue and Saturation adjustment to experiment with the colour.   Post-Processing: Black and whiteEven in the age of colour, black and white photos have a timeless elegance to them. Converting colour images to black and white is easy, but there are a few tricks that can help make your monochrome shots really stand out. You will be downloading the images below and converting them to black and white shots.   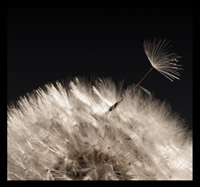 Many of today's working photographers and photo enthusiasts had their start during the age of film. I was certainly one of them. I got my first summer job at a fast food joint in the resort town of Sauble Beach, Ontario. The year was 1976. I was 12 and earned $2.15 per hour flipping burgers and making milkshakes. By the end of the summer I had banked over $1K - an amazing amount of money back then. My father insisted that I purchase something useful and said, (insert thick German accent) "Peter, you're not going to vaste your money at za arcade. You're going to invest your money mit zomething useful." My dad was a bit of photographer and owned a beautiful Voigtlander camera from the old country. As a young child I remember my dad always carrying around the camera and taking snapshots of family gatherings and the occasional day trip we'd go on. I'm afraid I absolutely hated having my picture taken. I don't think there's a photo of me in my dad's collection where I'm not crying or pouting. Even back then I must have known that I would be much more comfortable on the other side of the lens. I decided to invest my summer earnings in a new 35mm camera. My dad packed me up in the car and took me to the local camera shop, 30 minutes down the highway. We looked at a few and I walked out with a brand new camera under my arm - a truly massive, beast of a thing, a Soviet-era Zenit. As exciting as it was to enter the world of photography, that tank just wasn't doing it for me. A year later and it was definitely time to trade up in quality and down in heft. Dad packed me in the car again and off we went to the small camera shop. My dad was never one to rush a buying decision and we must have looked at two dozen cameras. Fully automatic cameras were just coming in, but the price for those was a little more than a pimply-faced teenager could afford. Plus, my dad insisted that I learn photography the proper way, by purchasing a fully manual camera - the Olympus OM-1n. That was the last film camera I ever owned - a great little machine that still works. I pumped countless rolls of film through - print, slide, black and white, and infrared. I enjoyed experimenting. Photography was definitely not a cheap hobby - $5 per roll, $20 to print. It adds up quick. It did force me to really focus on the composition because I couldn't afford to take a dozen shots of the same subject. My little OM-1n worked hard during my teens and early twenties. In my late twenties and into my thirties my teaching career and young family took more and more of my 'spare' time and the camera sat on the shelf for extended periods. I have to admit that I'd lost interest in photography. But that was definitely going to change... Here are a few of those early shots. 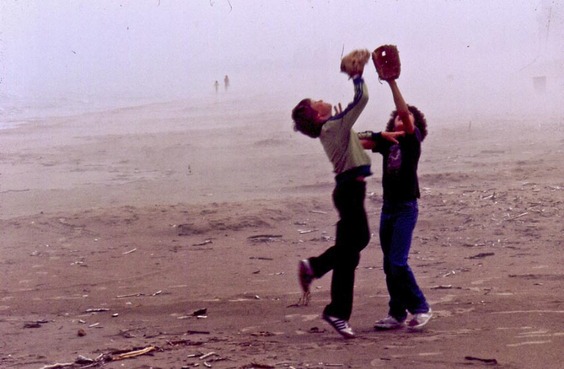 My brother(left) and a friend of his playing catch on the beach. I would have been about 13 or so when I took this.  My first double exposure attempt. My brother was often the 'guinea pig' for my photographic experiments. 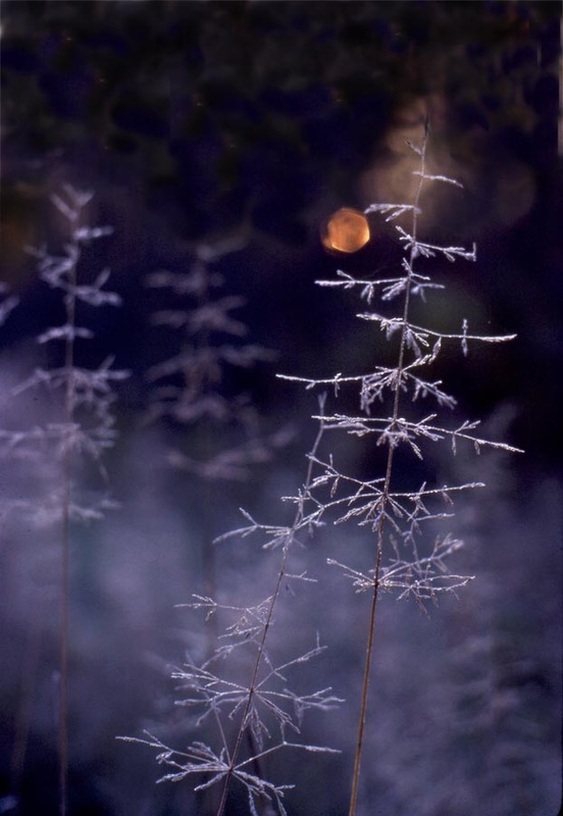 I still love what frost can do for a subject. 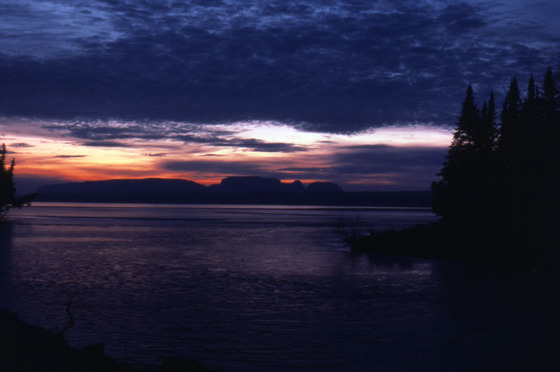 This was shot at Sleeping Giant Provincial Park near Thunder Bay, Ontario.
|