|
Photographs don't just happen. They all require varying degrees of four decision-making processes.
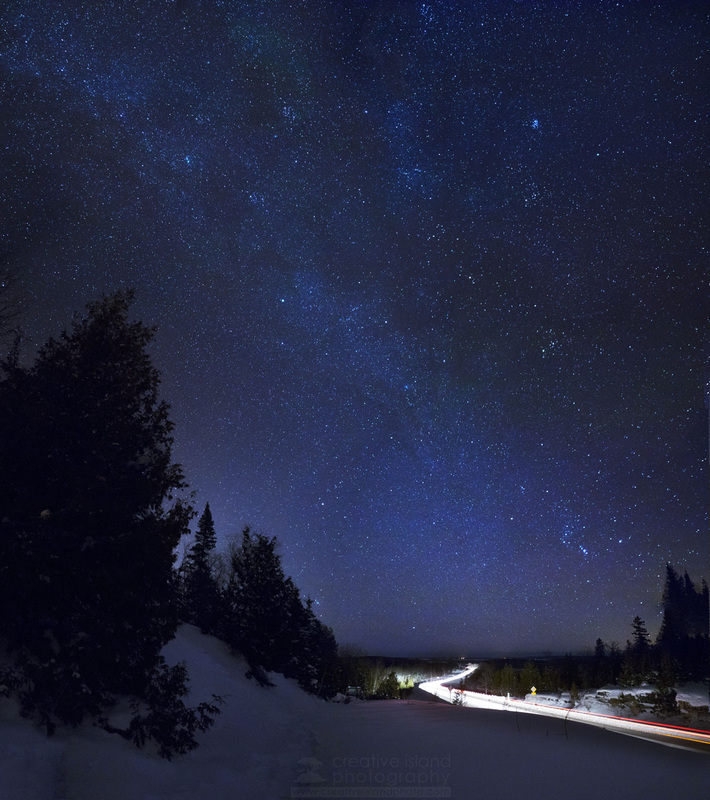
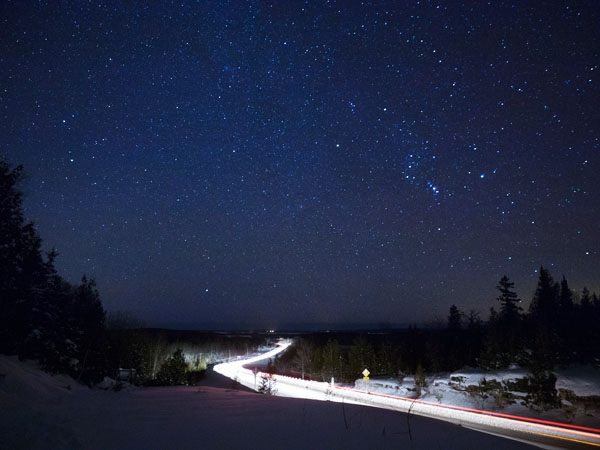
Planning When you look at this photograph you see a starry sky, car light trails and a few trees. As the photographer, I see weeks of planning, two nights in sub-zero weather and about two hours of post-processing. I've seen similar types of images and several weeks ago I had the idea to try one for myself. Several things needed to come together that would help in its creation. I needed a highway with a bit of an S-curve, an elevated position to shoot it from, very little light pollution, and of course, a clear starry night. I scouted out a few locations and decided on this section of highway about a 15-minute drive from my home. Now I just needed clear skies. Composition It is quite difficult to compose a shot in complete darkness. Even with my headlamp I couldn't tell if I was positioning the highway in the correct spot or if my horizon was level. Test shots were necessary. I was also aiming for a bottom-weighted image that would help show off the expanse of the night sky. (The stars at the top of the image were right above my head!) On the first night I went out at 9 p.m. in -23 Celsius cold. I parked my vehicle on the nearest side road and hiked through the snow to the location I had scouted out. I took several photos, played with camera settings and then waited. I waited, and waited, and waited. I waited for two hours and during that time only one car went by. Unfortunately my camera was processing a long exposure shot I had just taken so I missed it. A few swear words later I pulled my tripod out of the snow and decided to try again the next night. This time I went out a bit earlier and didn't have to wait long before I was able to capture the lights of a car heading down the highway. The photograph below shows that image. I was using my Olympus 12-40mm PRO lens, which is a great lens for landscapes, but I wasn't capturing the expanse of sky that I wanted. From my experiments the night before, I knew that a larger panorama would be needed. I began taking shots in a grid formation. Camera Settings In a future post I will talk more about camera settings for night photography, but for now, here is a rundown of the important settings used for this image:
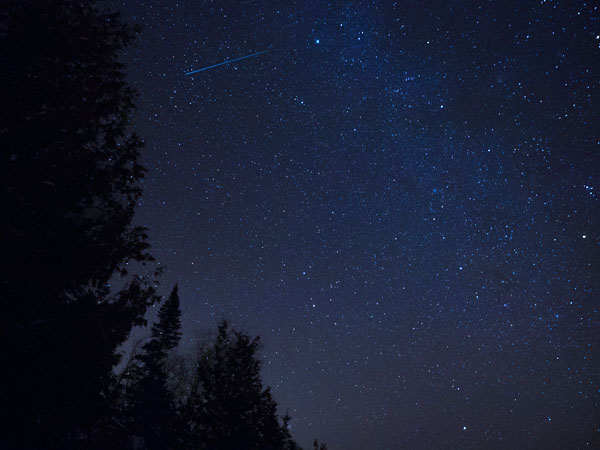
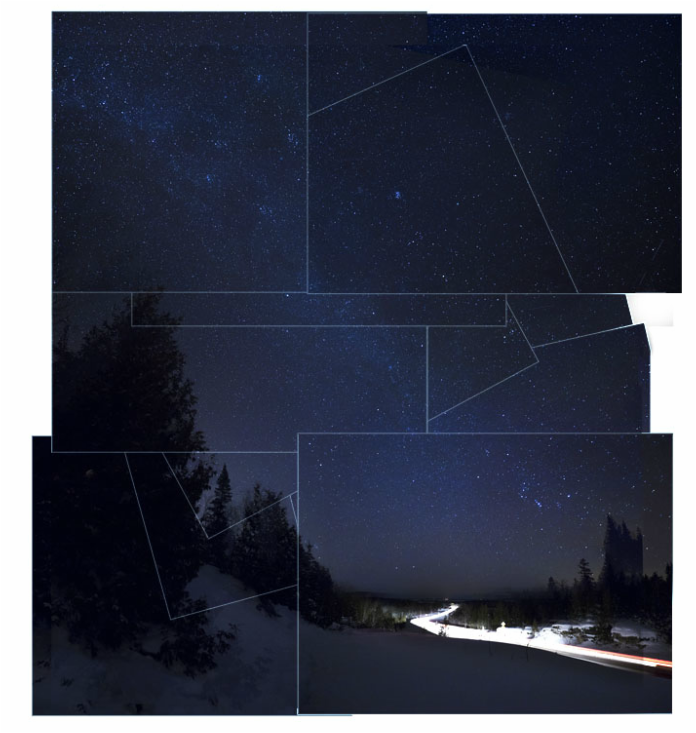
Post-processing The final image was a combination of 12 separate photographs. Before trying to create the panorama each image was fine-tuned in Lightroom. The sky was brightened to bring out the colours of the Milky Way and a Curves adjustment was added to accentuate each pinpoint of starlight. Putting together a large-scale panorama can be a challenge. Photoshop can do this automatically but I have had mixed results when I leave it completely up to the program. For this image I imported all 12 photos into one file and began manually aligning each overlapped area as best as I could. Then Photoshop did the blending to eliminate harsh edges between each image. Finally I cropped the image to eliminate the uneven edges and tweaked the overall exposure. My fingers have now thawed out to the point that I can get back out there and do some more night shots.
6 Comments
I just wanted to thank you for your post explaining what a composite shot is and how to go about it on an Olympus camera. I especially appreciate the very clear step-by-step instructions! Now I'm totally excited to experiment with this feature that was, until reading your post, a "mystery menu" item on my OM-D E-M1...LOL. I love spinning steel wool and composite shooting is clearly well suited for such shots. I also have an affinity for shooting sparks and can think of some interesting shots I want to try. Thanks again. Amazing photos!
Reply
Robin
10/23/2015 06:02:11 pm
Hi Peter
Reply
Hi Robin
10/24/2015 06:27:28 am
It is true that a few hot pixels show up on the E-M1 during longer exposures. For me it is not a serious issue as there are only a few and they are easy to eliminate during post-processing. Both the E-M5 II and E-M1 are fantastic cameras, but I do find myself liking the ergonomics of the E-M1 better. And with the new 4.0 firmware update coming next month it will be like having a new camera.
Reply
5/17/2024 07:56:29 am
With the continual increase in disk capacity, a key challenge lies in ensuring data protection and facilitating data reconstruction. While faster rebuild algorithms offer potential benefits, they often lead to highly complex recovery procedures, frequently requiring custom-built solutions.
Reply
5/17/2024 07:58:00 am
With the continual increase in disk capacity, a key challenge lies in ensuring data protection and facilitating data reconstruction. While faster rebuild algorithms offer potential benefits, they often lead to highly complex recovery procedures, frequently requiring custom-built solutions.
Reply
Leave a Reply. |
AuthorPeter Baumgarten is a professional photographer and educator. He is also an Olympus Visionary and NiSi Official Photographer. Categories
All
|


