|
Achieving More Accurate HDR Images HDR, or high dynamic range images were all the rage a few years ago. Generally speaking, I see far fewer photographers posting images with that distinctive (and in my opinion, overly processed) look. For those not familiar with it (and there can't be many), the concept is a fairly simple one. Take several photos of the same subject at different exposures and let photo-editing software merge them together so that details can be seen in both the darker and lighter regions of the photo. Like many, I also experimented with creating that style of imagery. I don't anymore, and here's why...
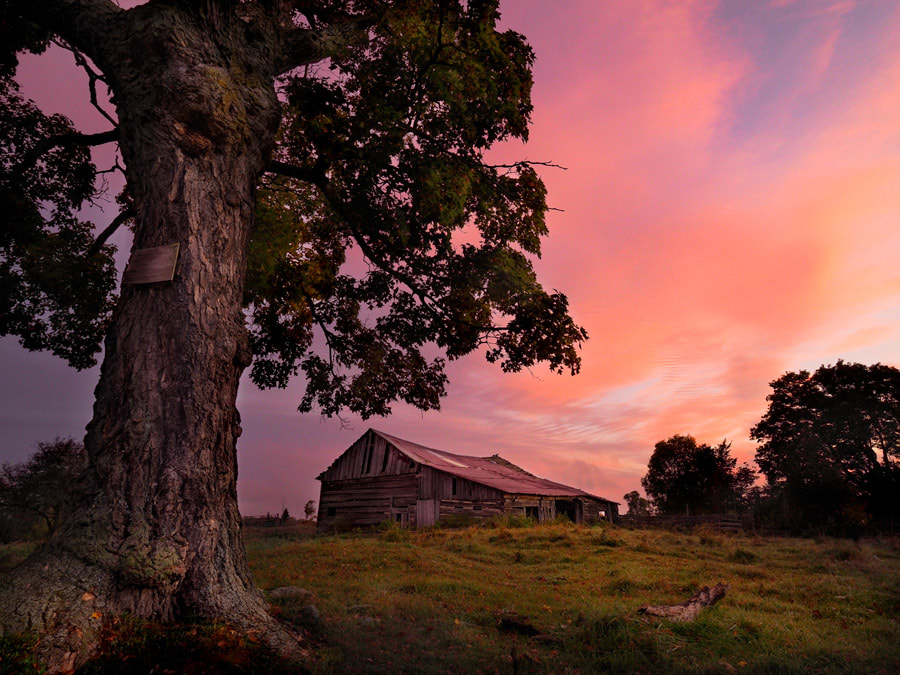
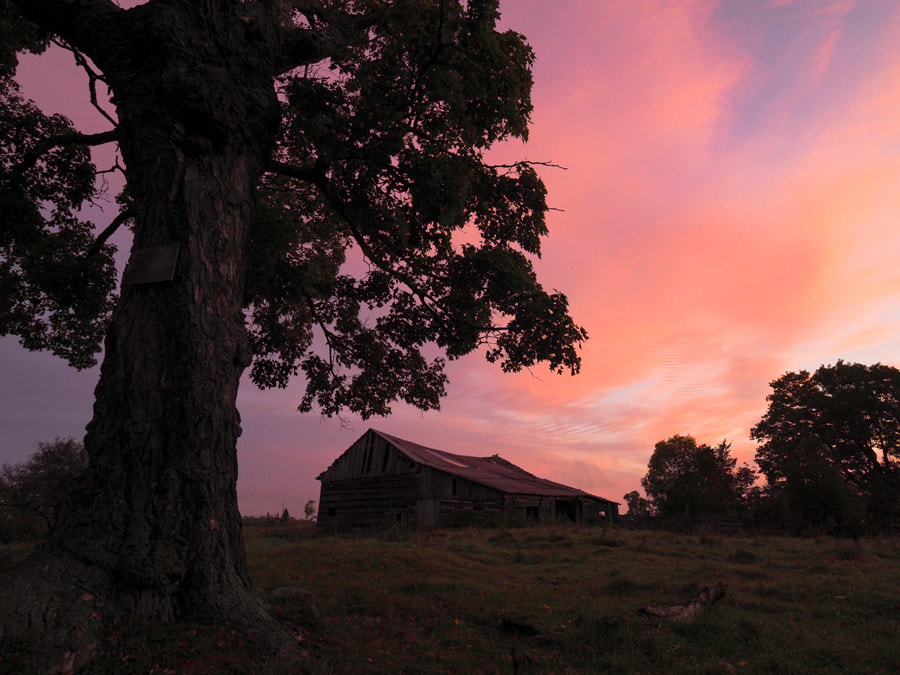
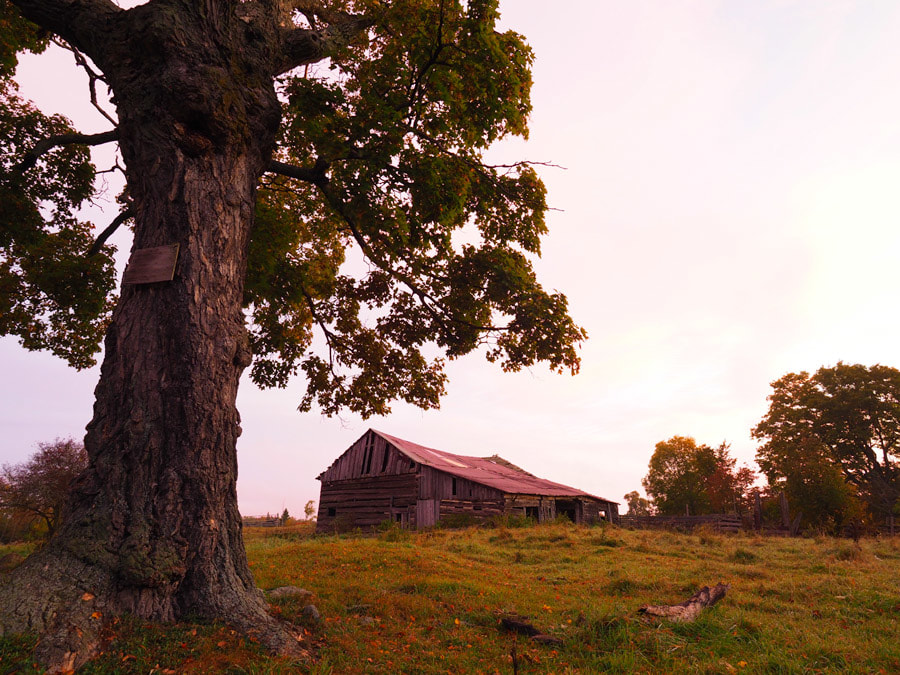
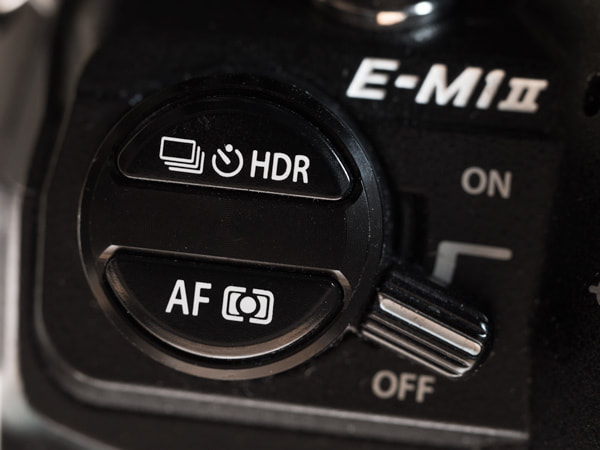
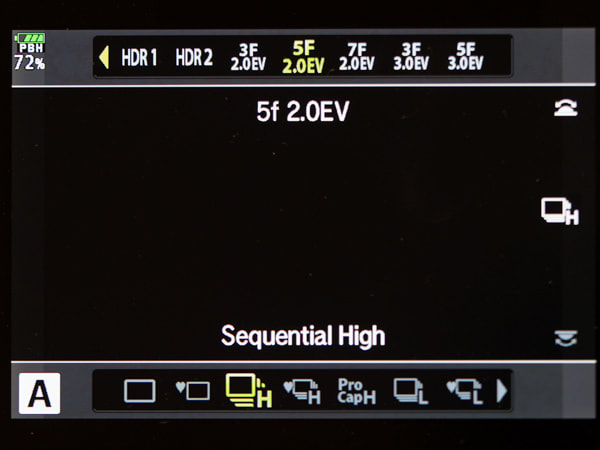
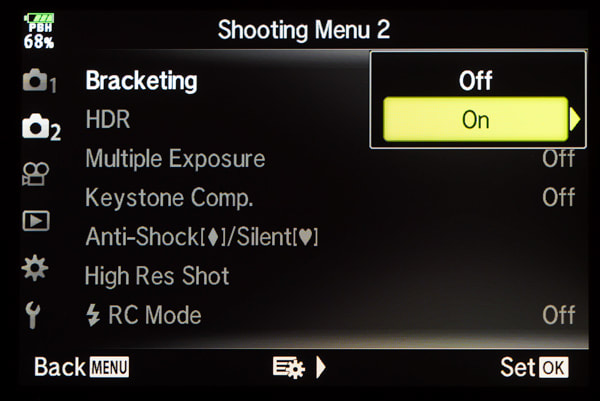
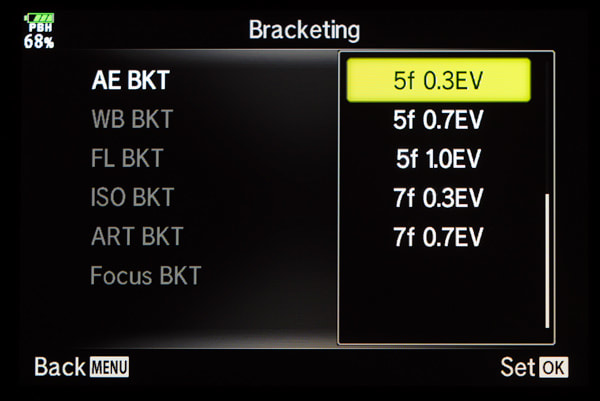
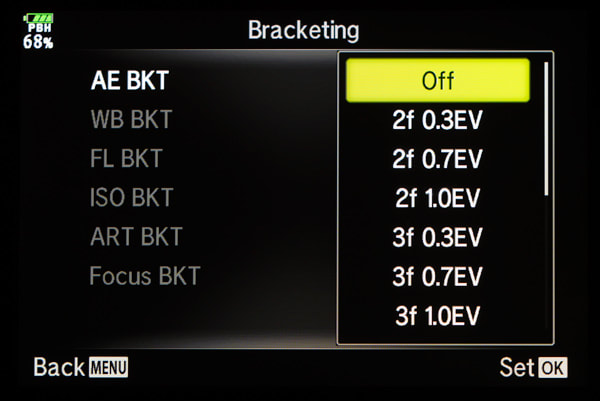
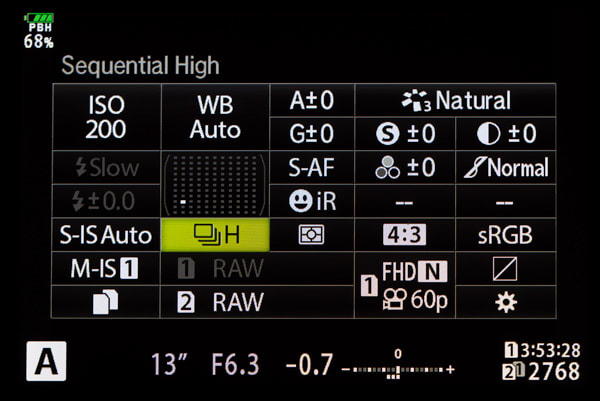
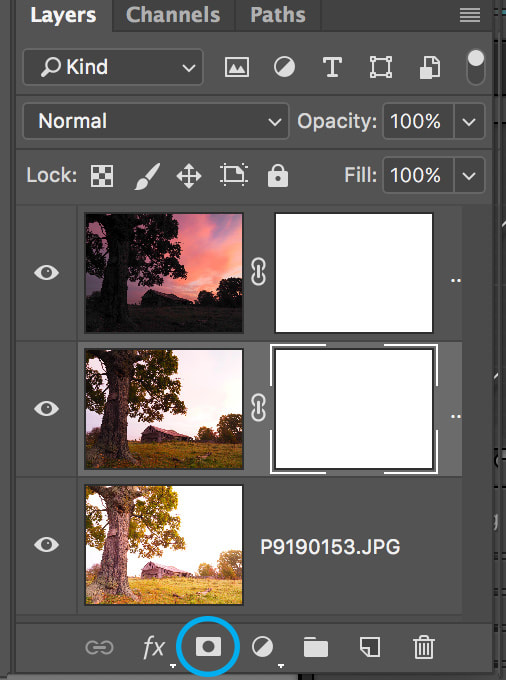
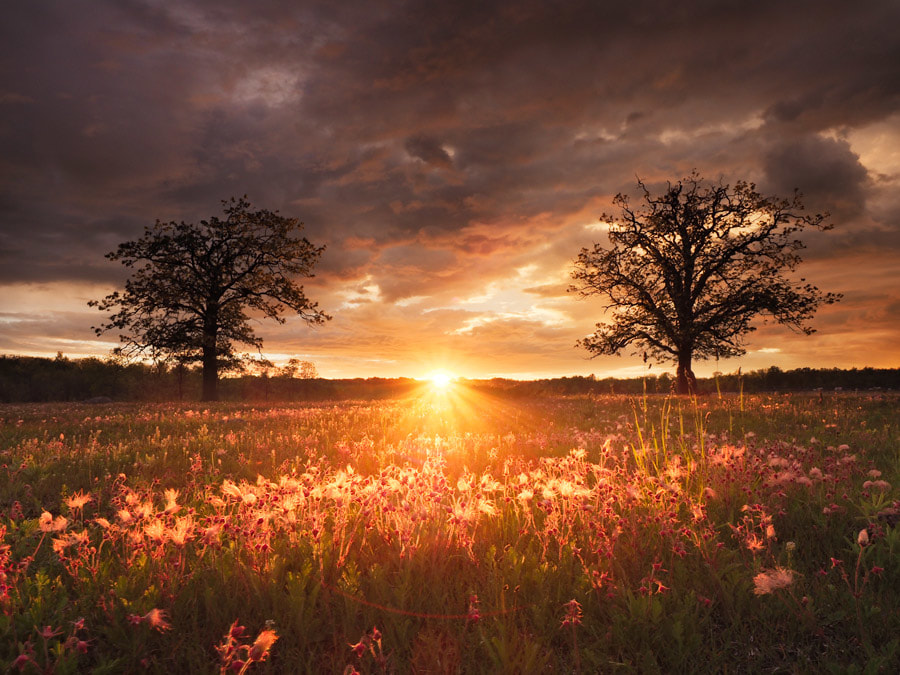
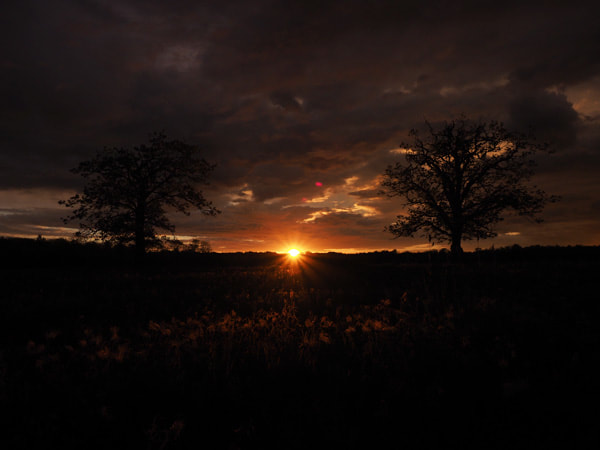
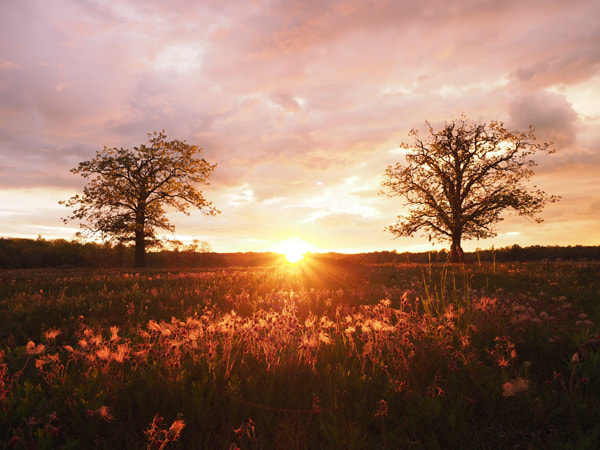
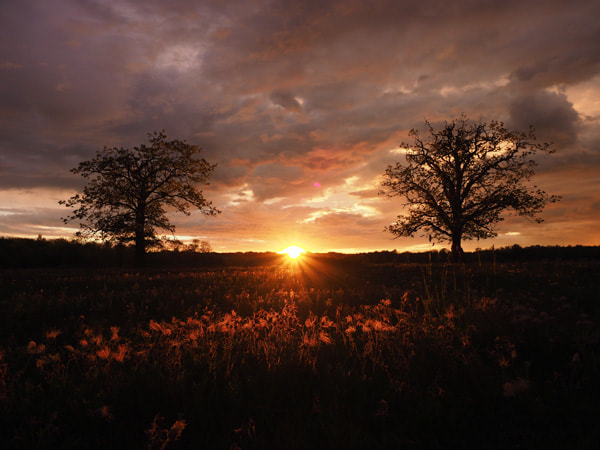
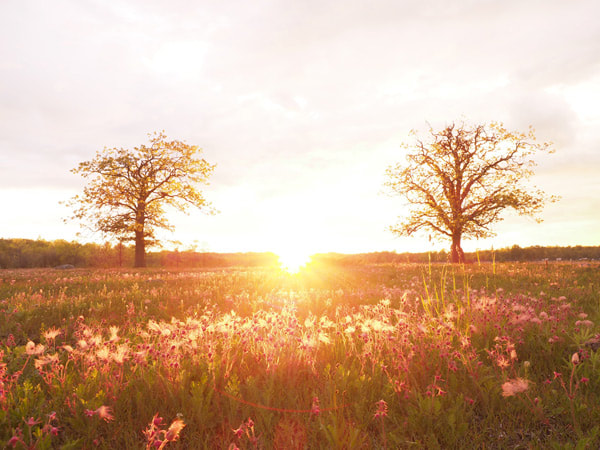
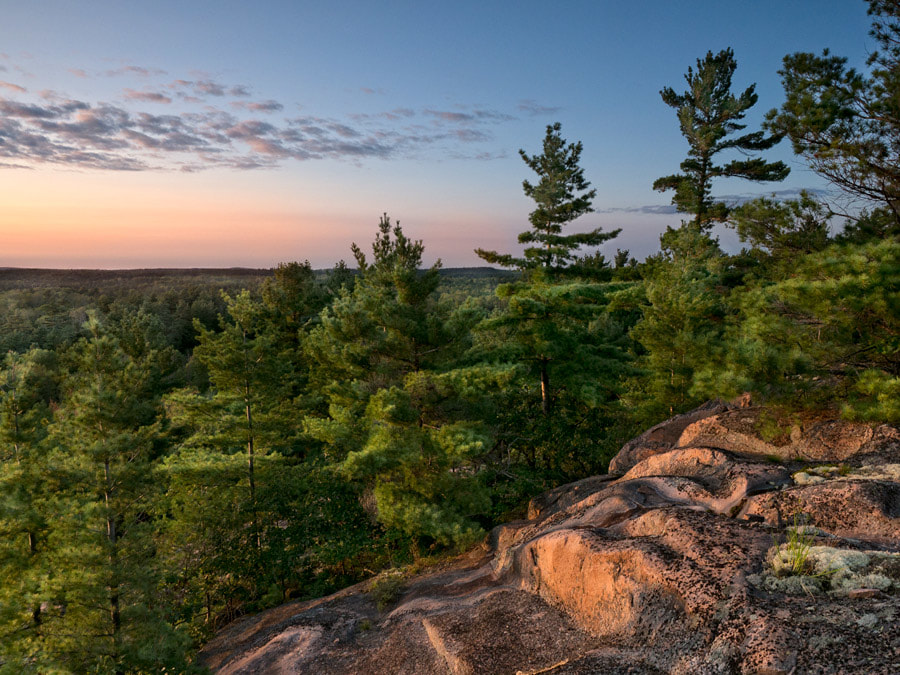
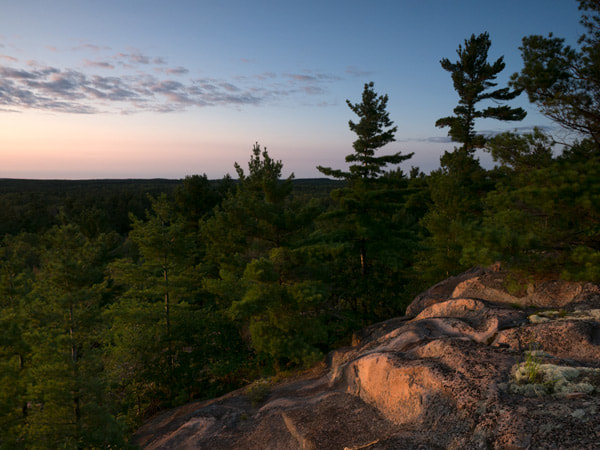
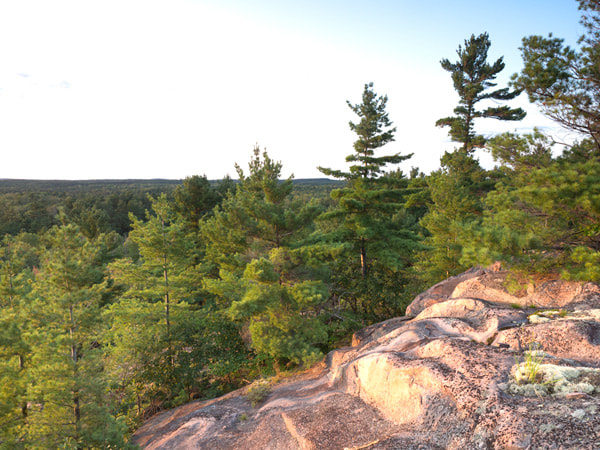
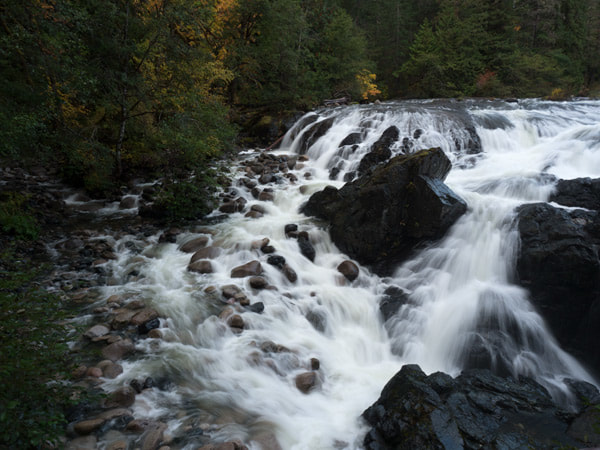
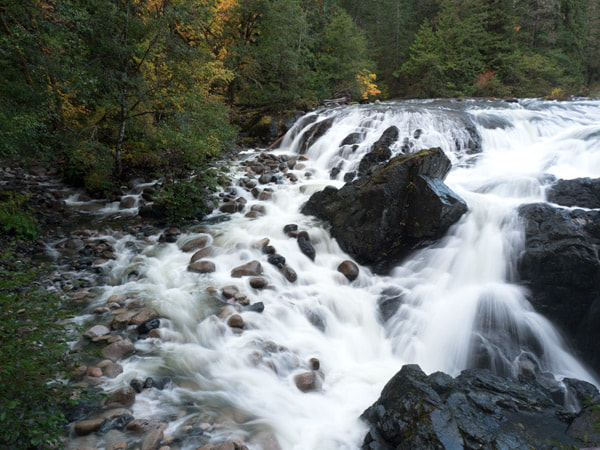
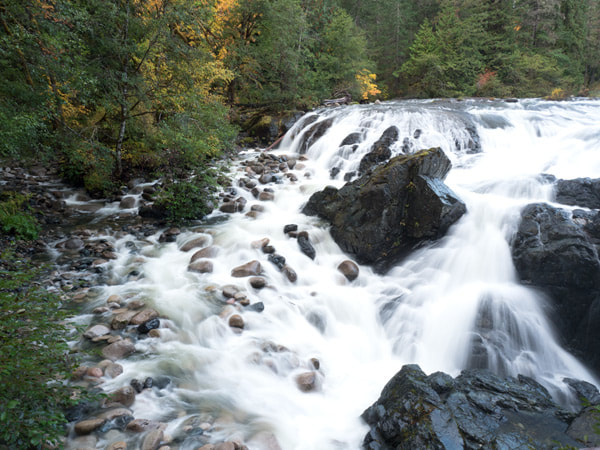
The image above is comprised of three separate shots, taken at different exposure settings and then blended together in Photoshop using layer masking. This is the way I remember the scene that morning (or at least it's the way I remember remembering it), but no single exposure could give me those results so that's why I opted to bracket the exposure. Below you will see the individual images and their settings. The important thing to notice is the change in the exposure value (EV) for each photo. Setting up the Camera Exposure bracketing can be achieved with most camera brands and models, but since I shoot with the Olympus OM-D line-up of cameras, that will be my focus. There are two ways of taking bracketed photos. Let's look at both. Method 1 - Using the HDR Button This is the method that I used for the sequence above. By selecting the HDR button you can select one of the built-in HDR modes, or a sequence of shots (3, 5, or 7 frames) at either 2 or 3EV difference between shots. In this case I used the "5F 2.0EV" option. It also engages the high sequential shooting mode so that with one single shutter release the camera will take all five frames, or whatever number you have selected. The advantage to this method is that it is very quick and easy to set-up. The disadvantage is that it offers less control over your exposure values compared to using true exposure bracketing (Method 2 below). Before moving on, a natural question might be, "why not use the HDR1 or HDR2 modes?" and "what's the difference?". In both cases 4 separate images are taken at varying exposures and then processed in camera to create a single image. The HDR2 mode creates an image with noticeably more contrast than in HDR1. Both yield acceptable results depending on the lighting conditions, but don't give me the degree of control that I'm looking for. Method 2 - Using Exposure Bracketing Exposure bracketing can be accessed through the camera's menu system. The AE Bracketing menu allows for far greater control over the number of frames being shot and the exposure value difference between each shot compared to the HDR options. The important thing to note is that the shutter release must be pressed for each frame in the series. For example, if you select 5f 0.3EV, you need to press the shutter release 5 times. Each time the exposure value is adjusted by 0.3 stops, with two of the shots having a lower exposure than your present setting, and two having a higher exposure. I prefer to press the shutter release only once and so I engage the high sequential shooting mode allowing me to rapidly cycle through the 5 shots. There is another method of course. You could simply adjust the exposure compensation on your own, taking as many frames, and at whatever exposure value you'd like. Regardless of the method, a tripod is almost a necessity. I say "almost" because there have been times where I have used bracketing handheld with higher shutter speeds and have successfully held the camera steady. Post-processing Bracketing shots using either method is pretty straight forward. Many photographers simply use exposure bracketing as a method to improve their chances of achieving a nicely exposed image. They choose the best image and delete the rest. I've done it myself. But that's not the point of this article. My goal is to make a photograph that more accurately represents what I see - either for real, or in my mind's eye. Enter Photoshop. And be warned, this assumes you have a good understanding of layers and layer masking. After importing the images into Lightroom, I will examine them carefully and select the photos that include the best details in all tonal ranges. In the example above I had five photos to choose from but only selected three. I then selected "Open as Layers in Photoshop" from the Photo and Edit In menu. This imports the images into Photoshop and stacks them as three separate layers.
There are certainly other methods of achieving similar results. I like this technique because of the control it gives me and the ability to easily reverse any step or brush stroke. Other Examples Exposure bracketing and layer masking is not a technique that I use often, but it has allowed me to create images that would be difficult or impossible with just a single shot. Here are a few other examples. 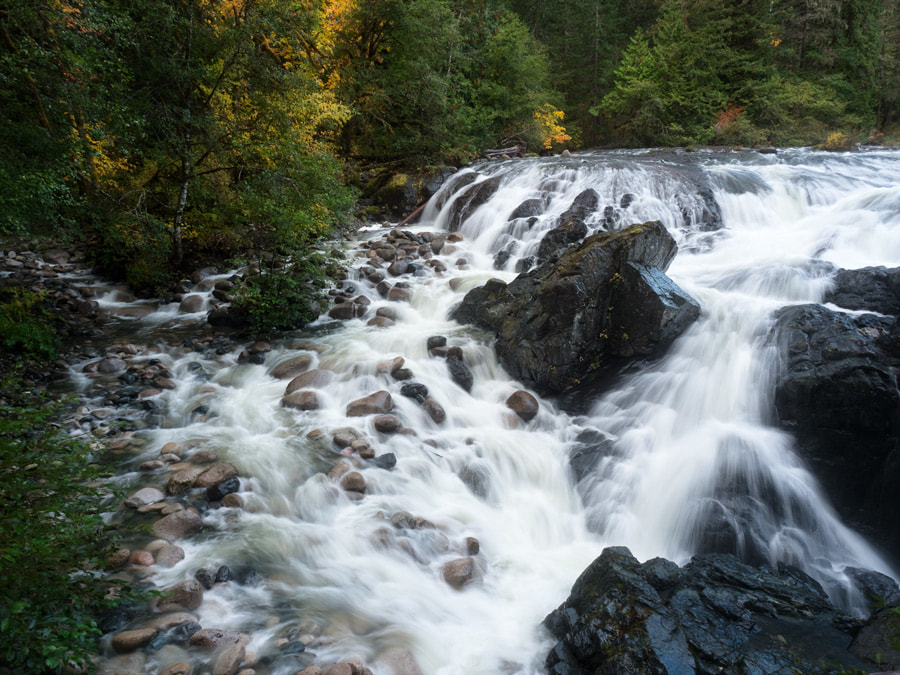 Exposure bracketing can be useful when photographing waterfalls. By exposing for the bright foam of the water, the surrounding rocks and trees are often underexposed, while exposing for the surroundings will often blow out the details in the water. Taking several shots at different exposures allows for a more natural looking image. Final Thoughts As stated earlier, exposure bracketing is not something I use for most of my landscape images. In more challenging scenes I will first turn to using a filter to control the lighting or use Lightroom to improve the dynamic range of a photograph. Bracketing however, can be a useful tool to keep in your photographic toolbox.
4 Comments
11/3/2017 10:22:12 am
Hi Peter,
Reply
Valentinus
11/14/2017 02:57:45 am
Hi Peter! Thanks for some interesting articles that inspire me with Olympus camera. However, there is a problem that I occur when using Olympus camera. I found that the night sky is the worst case scenario in terms of noise presence and found it difficult to do the post-processing. maybe you can share some tips for the post-processing? thanks a lot!
Reply
Ed
11/18/2017 11:45:27 pm
Thanks for a really succinct explanation. Looking forward to trying this technique with my Oly.
Reply
Jams O'Donnell
9/1/2019 04:08:26 pm
"I don't really like the overly processed look that seems to be the default setting of most HDR programs"
Reply
Leave a Reply. |
AuthorPeter Baumgarten is a professional photographer and educator. He is also an Olympus Visionary and NiSi Official Photographer. Categories
All
|
