creative   island   photography
  • Home
  • About
  • Portfolio
  • Order
  • Blog
  • Events
  • News
  • Contact

Black Velvet

1/11/2017

17 Comments

 
Photographing Elegant Still Life Images
As a nature/landscape photographer the quality of my images is very much dependent on the whim of mother nature and the light she decides to present to my lens. It can be a real disappointment to head to a great location only to have poor quality light spoil the scene. I've grown to accept that and cherish those moments when the light is perfect. There are times however when 'bad' light seems to lead to the best results. This 'black velvet' project is one of those cases. 
Picture
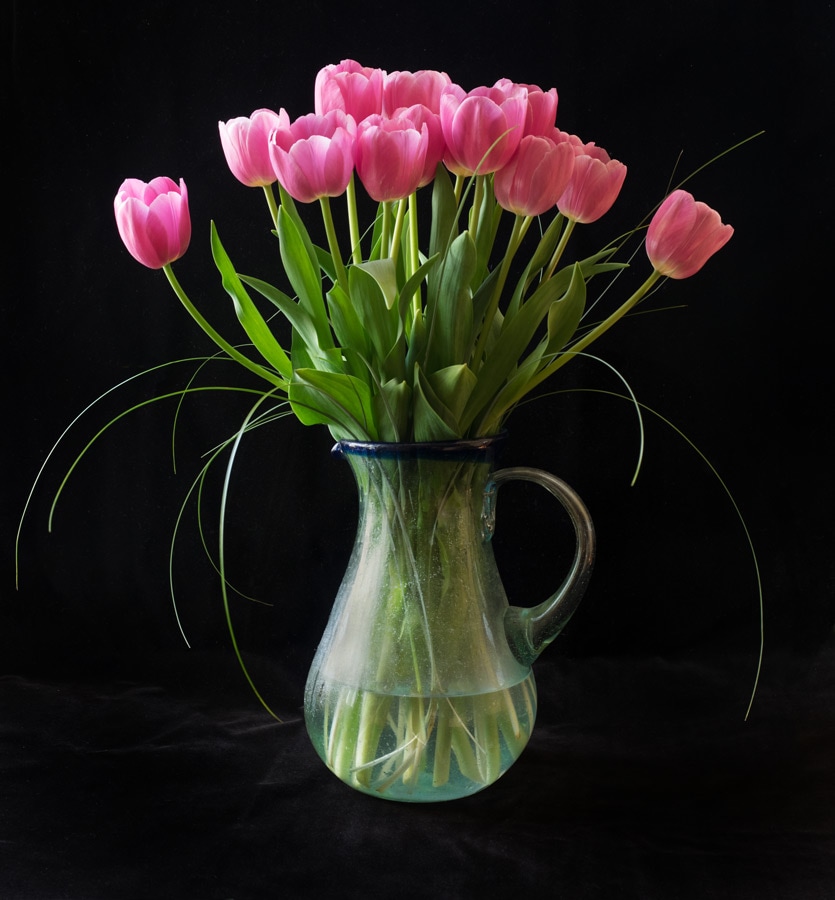
The key elements are quite simple; a still life subject, muted natural light  and a piece of black velvet. Although other fabrics will work, black velvet absorbs almost all light and has little to no sheen. It tends to pick up lint easily so having a lint roller handy will save some post-processing work later. Practically any subject will do but I tend to like using natural subjects from my garden. It's a nice change to be able to have  greater control over the elements in your photograph.  As far as lighting your subject, it may seem counterintuitive, but I find I achieve the best results under rather dull, early evening, overcast lighting - the type you would normally avoid.
Picture
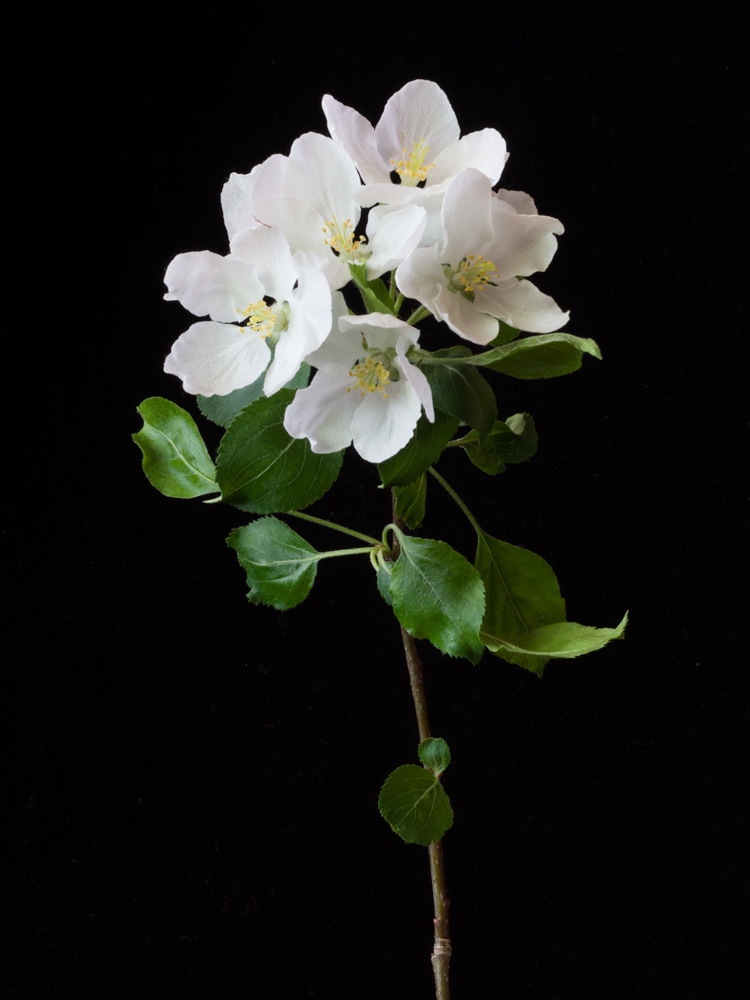
The blossoms of spring can make for a great subject and this simple studio technique allows far greater control over the final look than when shooting outdoors. (Olympus OMD E-M10, m.Zuiko 60mm macro f/2.8, ISO200, f/16, 2s, -2.0EV)

The setup is incredibly simple and the results can be stunning. Here's the basic recipe:

Ingredients
    •    Black velvet cloth - 2 square yards should be plenty for most images
    •    a table to work on
    •    something to drape the cloth over to create a simple backdrop. I used a stool that I placed on the table
    •    Your subject - a few flowers, bowl of fruit, or anything else you want to shoot
    •    natural light from a window, but not direct sunlight.
    •    tripod - an absolute must

Steps
  1. The table I use for this project is near an east-facing window so I always shoot during the late afternoon or early evening, thereby avoiding harsh light from the sun.
  2. Pick a subject, but keep it simple. You don't want to clutter your frame. After all we're aiming for simplicity here.
  3. For flowers use a vase, floral foam or other method of keeping your blooms upright. 
  4. Now comes the composition. Before I attach the camera to the tripod I usually like to 'free hand' it a bit. Try to fill your frame, balance the positive and negative space and determine the best vantage point. With some subjects it's nice to view them from directly overhead so having a tripod with an articulating neck can make this a little easier.  
  5. Attach the camera to the tripod and fine-tune the position.
  6. Let's get shooting.
Picture
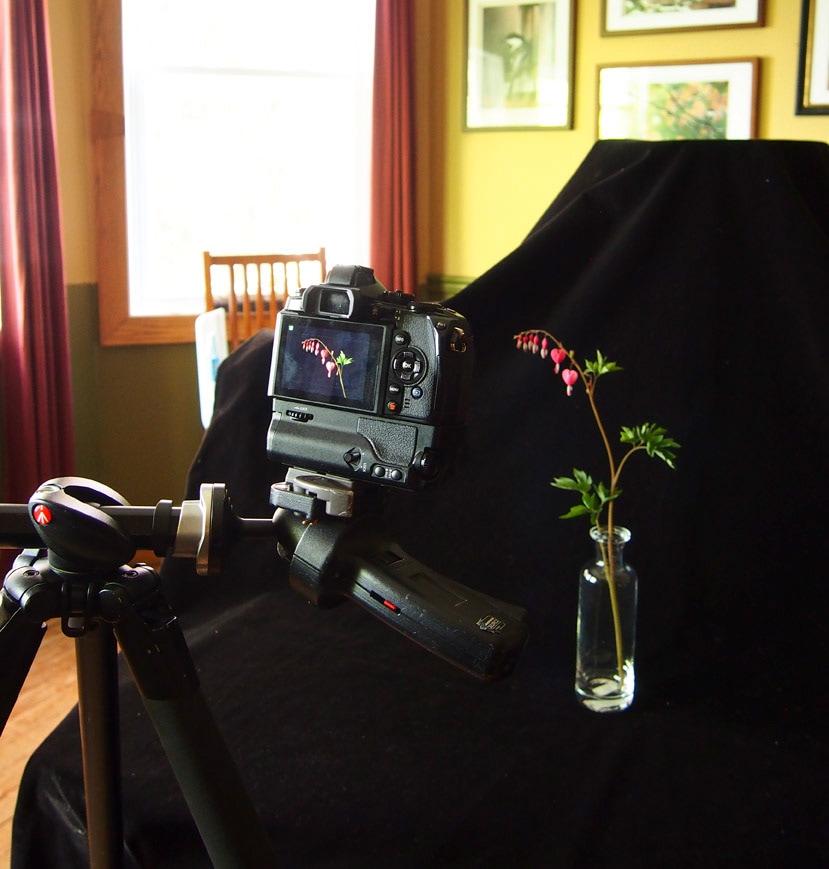
My dining room studio. This was shot in late afternoon with natural light coming in from the east-facing window.
Camera Settings
If you had a close look at the settings for the apple blossom photo above you may have noticed a few things. First, even though I was shooting in dim light I used a low ISO. Secondly, I utilized a fairly small aperture (f/16). I was using a relatively long shutter speed (2s), and finally, I brought the exposure value down by two stops. Let's look at those settings in greater detail.

  • Aperture - Although I will shoot with a variety of lenses, when dealing with a macro lens you need to be aware that they have notoriously shallow depths of field so I will often shoot at f/11 or smaller. I typically shoot in Aperture Priority and with the subdued lighting and small aperture you can expect fairly long exposures. For some shots I've had shutter speeds of 10 seconds or more. I would encourage the use of a cable release or delayed timer.  Just don't bump the table!
  • ISO - Keep noise to a minimum so use a low ISO - 200 is good. 
  • Exposure Compensation (EV) - This is the most important setting. The black background will trick your sensor into wanting to overexpose the shot. You have to tame the beast within by seriously stopping down the aperture. For most of my images I will stop it down by  about -2 stops.  This should properly expose your subject and helps to reduce the appearance of any small wrinkles in the velvet or any of the slight shine that may appear. 
Picture
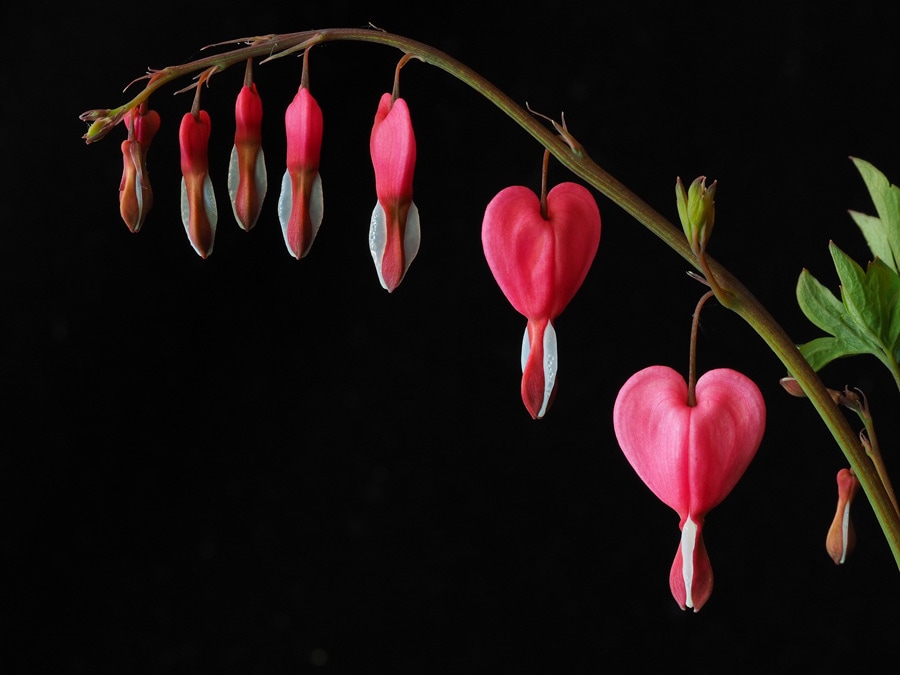
This is one of the shots from the shooting session above. (OMD E-M1, 60mm f/2.8 macro, ISO200, f/10, 2.5s, -1.7 EV)
Post-processing
The thing I like the best about this technique is that you can achieve great images straight out of the camera with little to no post-processing. The single light source with create some nice shadows that add dimension to your subject, and the dull light will maintain great colour saturation. 

For those shots that need a little bit of work it usually involves the following;
  • I may add a slight curve adjustment in Lightroom or Photoshop in order to improve the contrast.
  • If you are like me and need a new prescription for your glasses you may have missed a few bits of lint on the velvet.  Use the Healing Brush or Cloning tool to make these small spots disappear. 

Gallery
Here are a few other black velvet shots. 
Picture
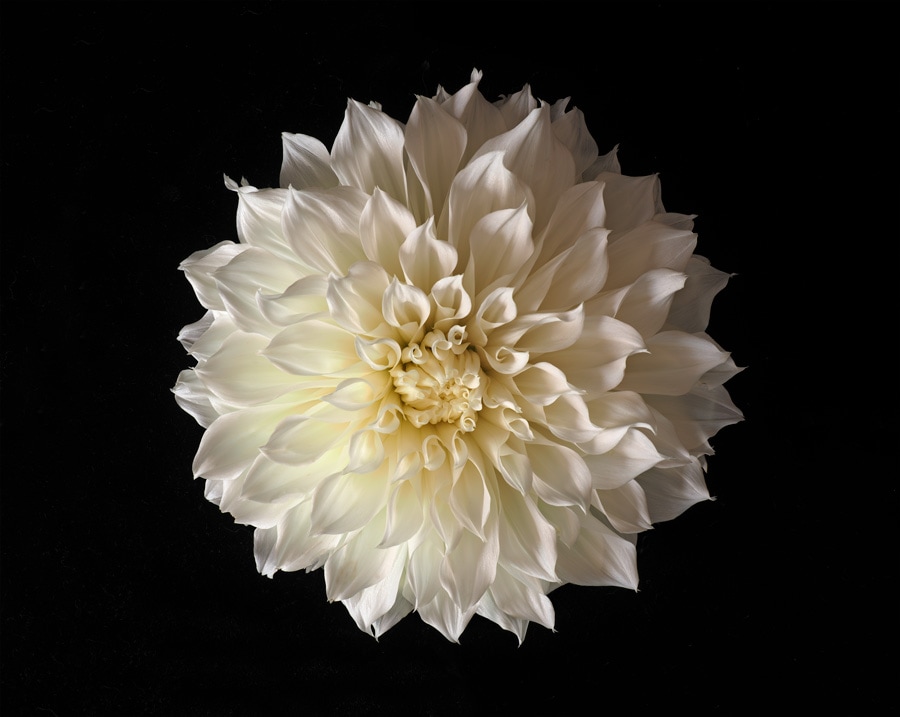
OMD E-M5 Mark II, m.Zuiko 12-40mm f/2.8 PRO, ISO200, f/8, 0.4s, -0.3EV
Picture
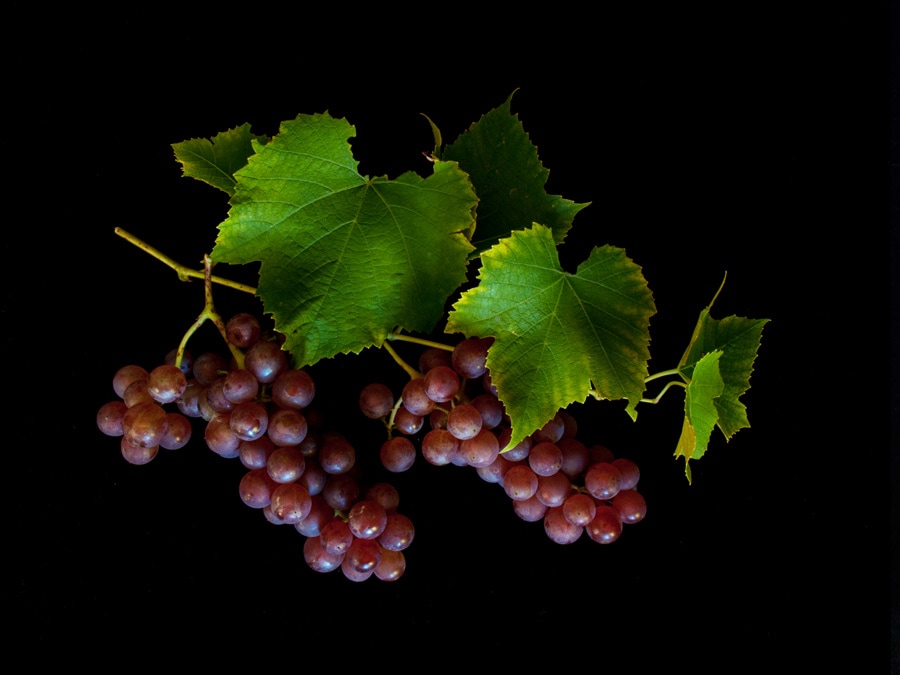
OMD E-M1, m.Zuiko 12-40mm f/2.8, ISO200, f/13, 4s, -1.0EV
Picture
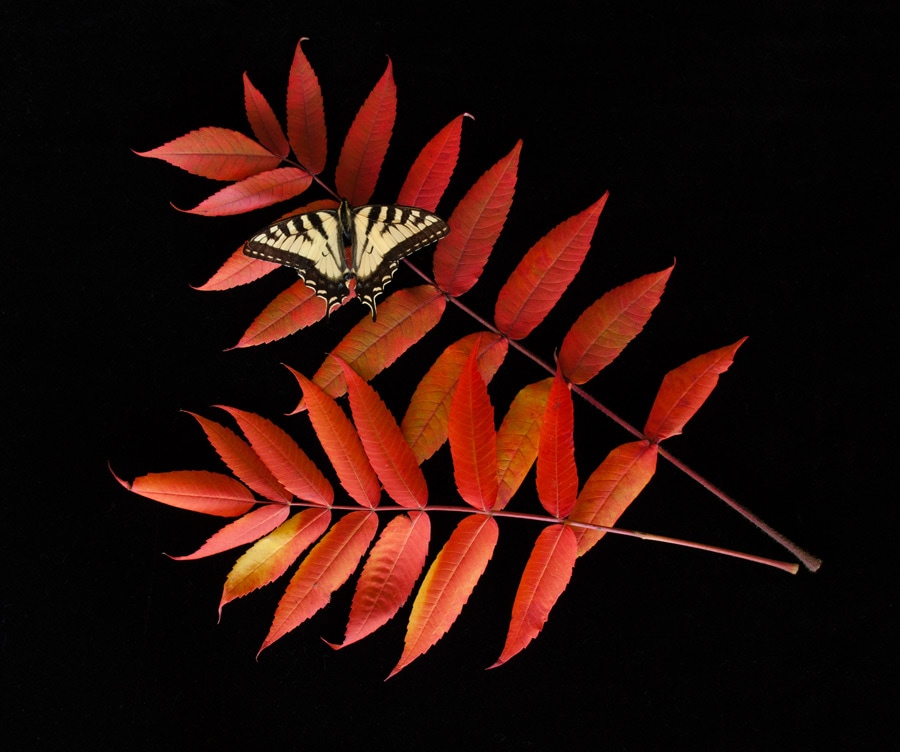
OMD E-M1, m.Zuiko 12-40mm f/2.8 PRO, ISO200, f/6.3, 1s, -0.7EV
Picture
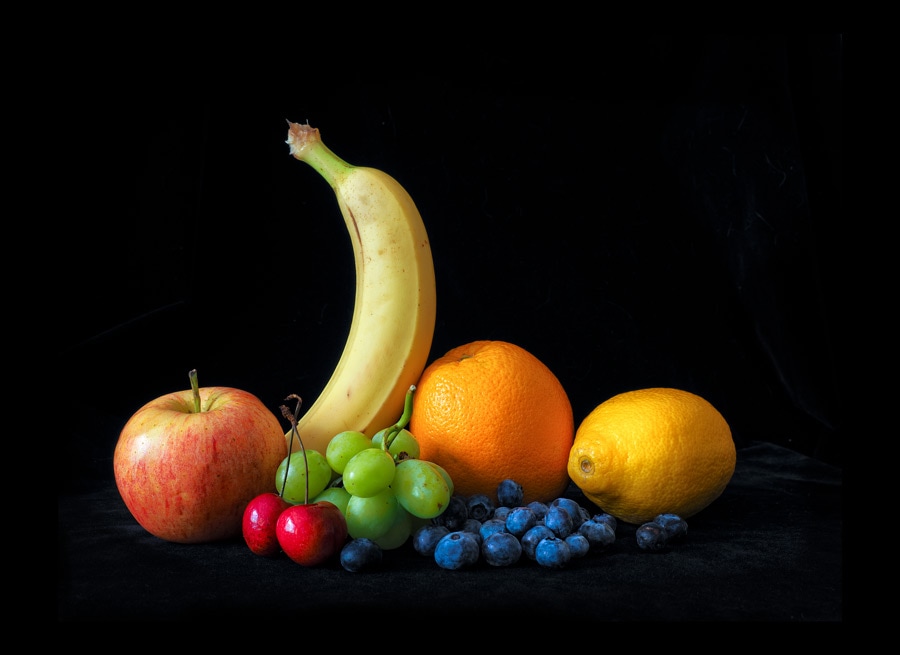
OMD E-M5 Mark II, m.Zuiko 12-40mm f/2.8 PRO, ISO100, f/8, 1.6s, -1.3EV
Picture
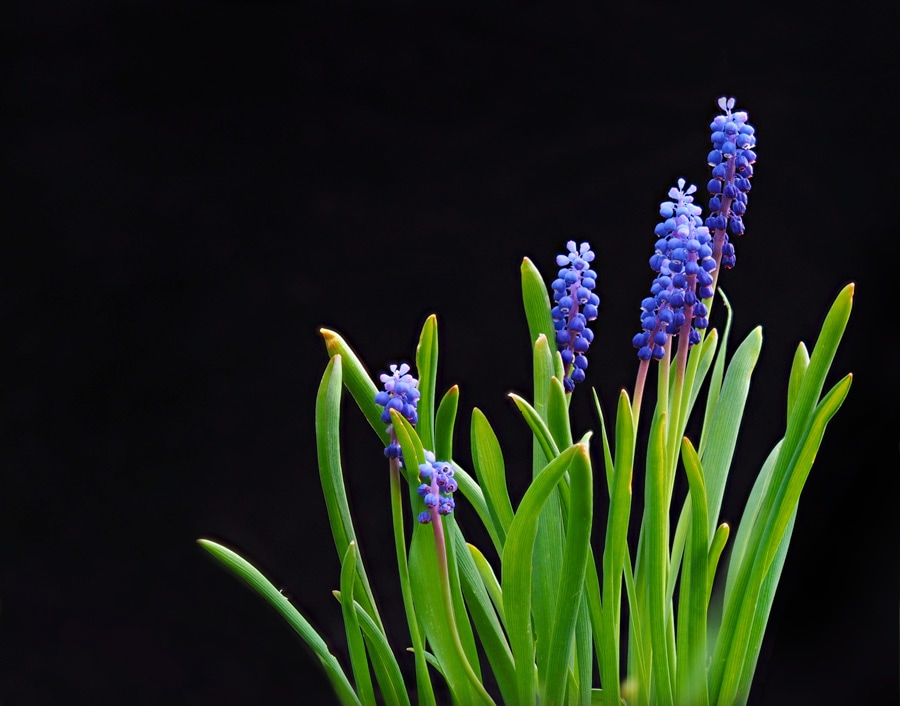
Although I prefer to shoot these black velvet images indoors under more controlled conditions, this was one shot outdoors. I took a piece of black velvet and placed it around these grape hyacinths. (OMD E-M1, m.Zuiko 40-150mm f/2.8 PRO, ISO400, f/4, 1/320s, -1EV)
Picture
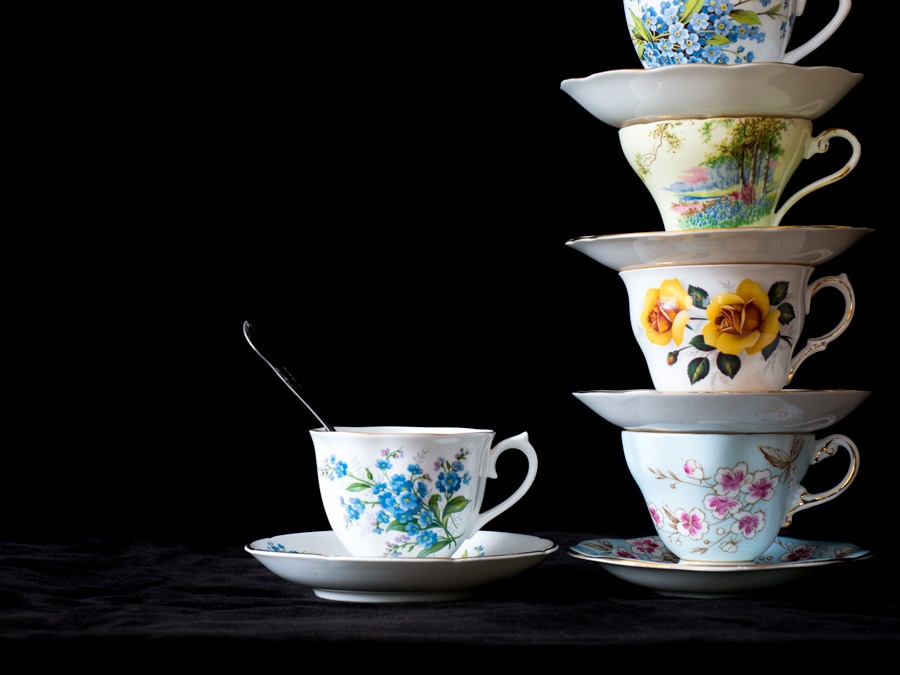
This image was photographed for an invitation requested by a client. (OMD E-M1 Mark II, 12-40mm f/2.8 PRO, ISO200, f/7.1, 1s, -1EV)
Final Words
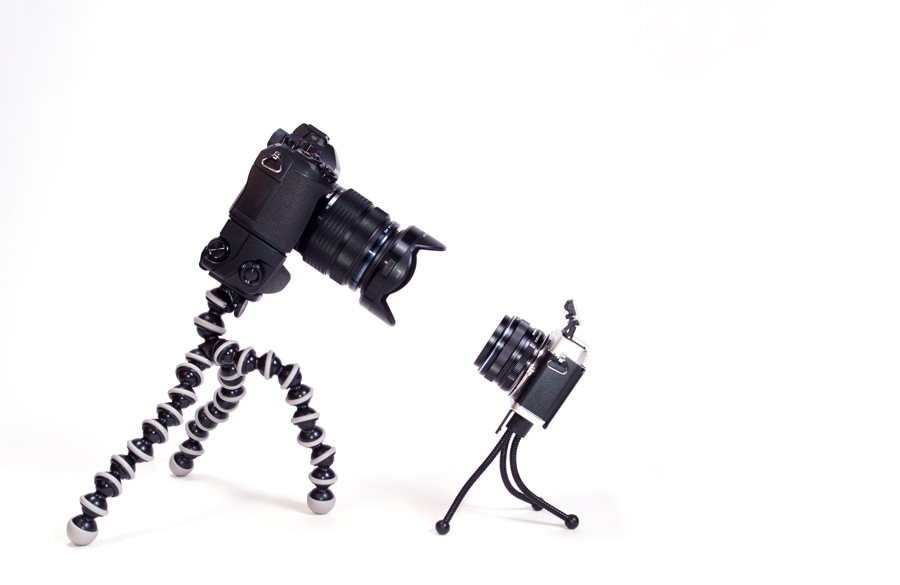
​The technique demonstrated within this post is only one way of shooting still life images. I really like the elegant look of a black background and velvet is by far the best choice since it reflects very little light compared with other materials. That said, it doesn't work for every subject or situation. For the whimsical shot below, a black background just wouldn't work so instead I used a roll of white studio paper.
Picture
(Olympus E-620, 14-42mm, ISO100, f/8, 1/60s, +1EV)
17 Comments
Walter Meissner link
2/14/2017 12:24:03 pm

I saw these photos first through the email link for Olympus photo tips.
I am really taken in by the" tulips in a vase" photo, and also the elegance of the others. The whimsical 'two cameras' photo really shows creative thinking.
I liked the clear explanation of the though process you went through, the decision made to achieve these results, and the photos of the studio setup. An outcome of your talents as a teacher.

I have taken similar photos (bleeding hearts, tulips, irises, peonies, dandelions, etc) in an outdoor setting. The problems I using have is trying to keep a good depth of field while keeping the background in a creamy, out of focus state, getting the right lighting on the subject, and because I am outdoors and I am hand holding the camera, so the shutter speeds have to be quick. One solution might be to use a mild to extreme telephoto lens, but usually I use the 12-40 mm f/2.8, although I have also tried the 60mm macro and the 75mm portrait lens.

I'll have to buy some black velvet (and some other background colors) and try some of these as indoor shots.

One book I got at the NYC Expo was one on macro photography.

While its emphasis is on macro/closeUp photos,
the techniques used turn the outdoors into a 'studio' setting
with various lighting techniques, reflectors, backgrounds, etc.

Amazon - Complete Guide To Macro/CloseUp Photography ($27)
https://www.amazon.com/Complete-Guide-Macro-Close-Up-Photography/dp/1681980525

Another book that shows how to create an outdoor 'studio'
for photographing wildlife, that obviously can't be taken indoors, is

Amazon - Secrets of Backyard Bird Photography ($18)
https://www.amazon.com/Secrets-Backyard-Photography-Chris-Hansen/dp/1937538559

Walt

Reply
Lin Troski
4/2/2017 07:30:39 am

Love what your doing and your explanations. Just got my Olympus but having some issues

Reply
Tim Bradbury
2/3/2018 11:30:48 pm

If you are using Olympus cameras and lenses, you really need to start using focus stacking for your close up shots. I can shoot wide open, have a perfect blurry background, and have as much of the subject in focas as you do at f11.

Reply
Lin Troski
2/4/2018 07:28:13 am

I do have all Olympus. I don't quite understand the focus stacking control on the camera. Do you focus on the closest spot and it moves accordingly?
Thank you

Reply
Peter
2/4/2018 08:57:02 am

Hi Lin,
There are some inconsistencies with the way focus stacking works, but generally that is correct. For more information about stacking and bracketing check out my post - https://www.creativeislandphoto.com/blog/focus-stacking-and-bracketing

Reply
Tim Bradbury
2/4/2018 09:24:18 am

Lin
Peter's blog on this is excellent. For me, I do aim at a spot closer to me. The camera then takes 8 shots - sort of forward one step and backward seven, and then merges them. I often do this handheld, with surprisingly good results. But the best way to get it is to just do it a lot.

Reply
Sylvia Kendrick link
11/14/2018 09:49:44 am

I have saved a collection of skeleton leaves and petals and would appreciate advice on how to photograph them. I am an amateur photographer. Would black velvet work do you think?
Any help appreciated.

Reply
https://bestwritingclues.com/ link
11/23/2018 09:32:42 pm

That is right! Once you photograph several items on a black background, you are adding more sophistication to the said item. What you did with the flowers was quite exceptional and I couldn't say any word about it! In photography, there are still interesting things and concepts we need to learn. It is merely not just about taking photos, it is also about giving life to an item through a non-moving photograph, which is a hard thing to do!

Reply
Peter Coplin link
2/21/2019 06:14:45 am

Thank you for the tutorial. I’ve been using black velvet for years in an effort to shoot product photos of guitars indoors on a table with two 6 light shadow boxes . I drape the velvet from 4 feet up and let it rest with a parabolic curve onto the table. My problem has been awful greying out of the table velvet while the backdrop remains black. I shook RAW and then have a lot of post processing to do. I don’t understand why fine black velvet does not act like a “black hole” reflecting nothing. It seems that shots at a 90 degree angle to the plane of the velvet are perfect. But the velvet that is on the table under the product (at a 90
Degree angle to the back drop) looks like chalk board Grey. So much for the black hole theory. This necessitates a ton of post processing. Shooting RAW has helped a lot with Lightroom eradicating that awful grey. Any suggestions? I have been trying to get the shots to look like yours WITHOUT manipulation . Thanks.

Reply
Peter Baumgarten
2/21/2019 06:38:57 am

Hi Peter,
My suggestion would be to stick with dim natural light. The instant you add artificial light you are going to get some of the grey reflections that you speak of. In the setup photo that I included it would appear that the room is quite bright. It wasn't. I try to do this type of photography on a grey overcast day, usually late in the day, on the east side of the house. Another option would be to lay your guitars down on the velvet and shoot from above.

Reply
Peter Coplin link
10/3/2019 09:27:23 am

Thank you for the reply . My studio for shooting guitars is underground for humidity and temp control. I have noticed that shooting from above does work even at angles. Very strange.

Walter Meissner link
4/17/2019 03:58:36 pm

Thanks for the hints on how to photograph still life images.

I have tried using black velvet before but in overcast outdoor setting, but the lighting wasn't up to par.

This time I needed to get a nice photo for a club competition titled "fruits and vegetables" due within the week.
I bought some photogenic ones in the grocery store,
and used black velvet with the late afternoon sun
and setup inside a screened-in porch.

I setup an EM-1 with the M.Zuiko 12-40mm f/2.8 lens on a tripod. For a starting point, I used the same settings.
I hand bracketed the aperture and EV setting a bit just to check for a better quality image. Later I post processed them.
Surprising, I arrived at the same setting for best exposure, -1.3 EV at ISO 200. However since the arrangement was on a diagonal and not flat-on like in your example, I needed f/11 instead of f/8 for complete sharpness.

That image won an award on the club competition night.

I owe that successful photo to all your detailed helpful hints.

Reply
picbear link
10/3/2019 12:05:57 am

This is a great inspiring .I am pretty much pleased with your good work. You put really very helpful information. I am looking to reading your next post.

Reply
Võ Lê Hoàng Nhật link
10/31/2019 11:35:30 pm

I saw these photos and they makes me overload because of the elegance you bring to your picture. These tips can help me make my baby playpen photo be more elegant that I think it can attract more customers. Thanks for your advices

Reply
h marais link
2/25/2020 04:12:59 pm

If you have other photography blogs etc please could you advise

Reply
MarvW link
4/28/2020 07:09:22 am

great images, great article. straightforward, educational and helpful, thank you!

Reply
Hanisha link
7/21/2022 03:26:00 am

Thanks for sharing informative article.

Reply


Leave a Reply.

    Author

    Peter Baumgarten is a professional photographer and educator. He is also an Olympus Visionary and NiSi Official Photographer. 

    Categories

    All
    Astrophotography
    Behind The Photo
    Personal-thoughts
    Photo Projects
    Reviews
    Tips And Techniques

Proudly powered by Weebly
  • Home
  • About
  • Portfolio
  • Order
  • Blog
  • Events
  • News
  • Contact