|
Creating Glowing Mushrooms The forest can be a magical place. During the autumn, mushrooms of all shapes and sizes erupt from the forest floor. You can easily create some of that magic by making your own glowing mushrooms. All you need is your camera, some simple lighting and a bit of post-processing. 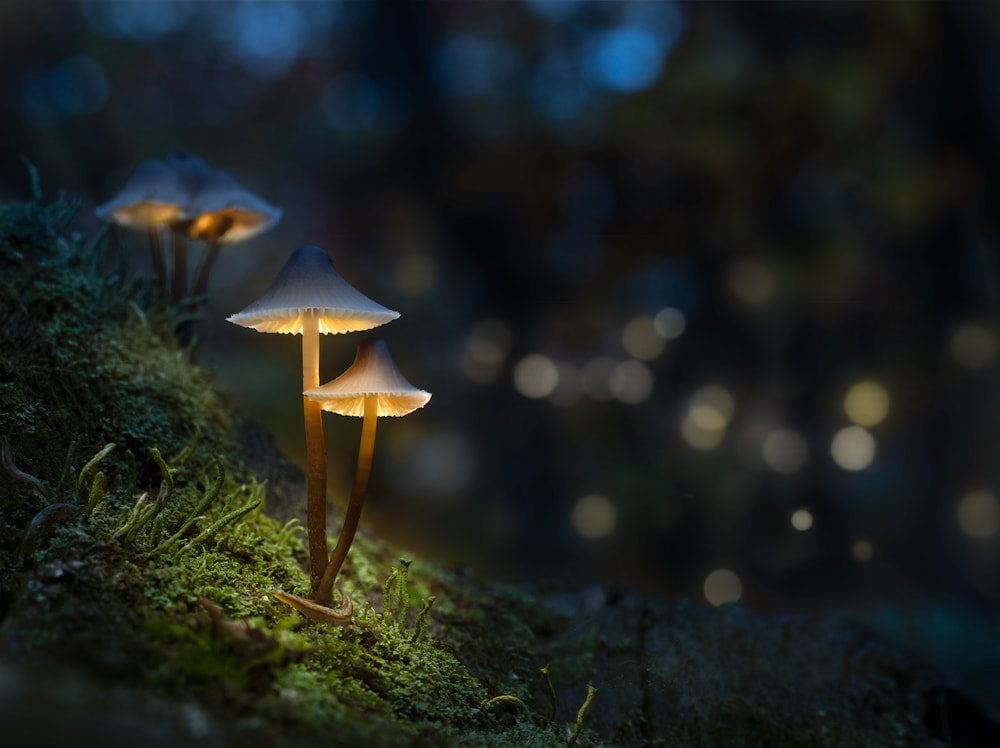 One of my first attempts at creating some glowing mushrooms. Several shots were blended together to create this effect. (OMD E-M1 Mark III, M.Zuiko 60mm F2.8 Macro)
9 Comments
Disclosure: I am an OM System Ambassador and as such receive compensation from OM Digital Solutions. Although compensation was paid for this review, I endorse their products because I truly believe in the quality of their gear. In 1972 Olympus released the OM-1. It earned high praise as the smallest and lightest SLR camera of its time and included numerous innovations in its build and design. Fifty years later the OM-1 is back. The name may be the same, but after that the differences are innumerable. It still bears the Olympus name, but the new OM-1 is also branded with the OM System logo. It is the first camera released by OM Digital Solutions. I had the opportunity to shoot with the OM-1 prior to its release date. In using the camera there have been some real “wow” moments – things that excited me, and a few things where the camera didn’t quite hit the mark. Keep in mind that this isn’t a formal review, but rather my impressions of how the OM-1 stacks up, especially when compared to previous models like the E-M1 Mark III and the E-M1X. 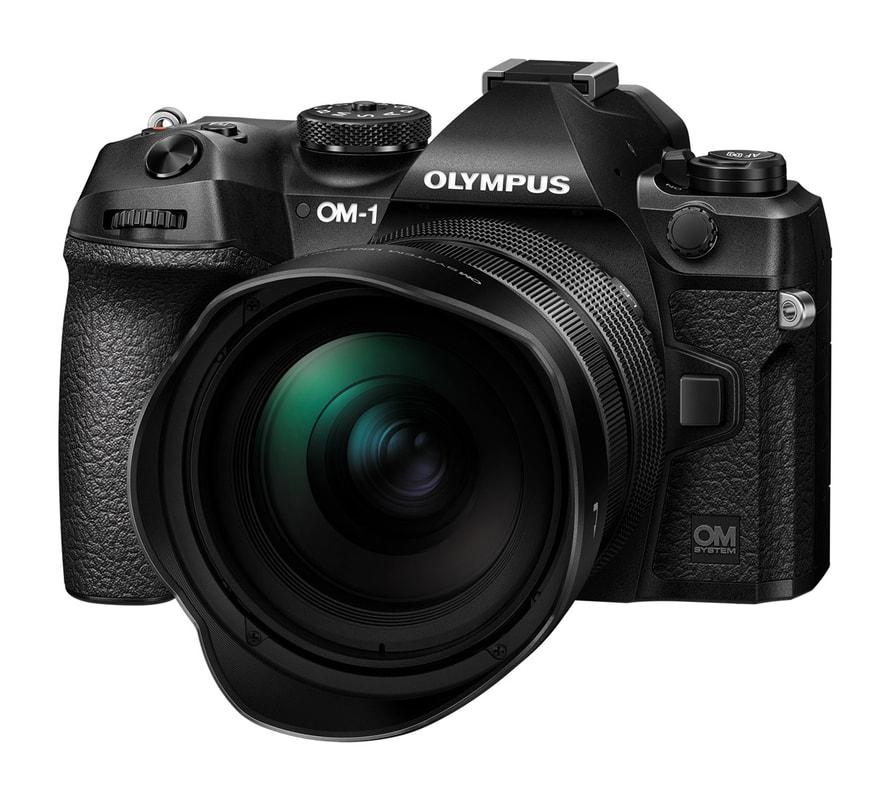 The OM-1 shares most of the same design features of the E-M1 Mark III with a few small changes. As the first camera produced OM Digital Solutions it is branded with the OM System logo. As a photographer who primarily shoots landscapes I am often focused on the 'big picture'. Normally, I want the viewer to see the subject for what it literally is, a mountain scene, an autumn forest, or waves crashing on a rocky shoreline. My job is to present that scene in an artistically pleasing way using various compositional strategies. There are times however, when a small piece of that landscape catches my eye and I try to present it in a more abstract, rather than literal, way. 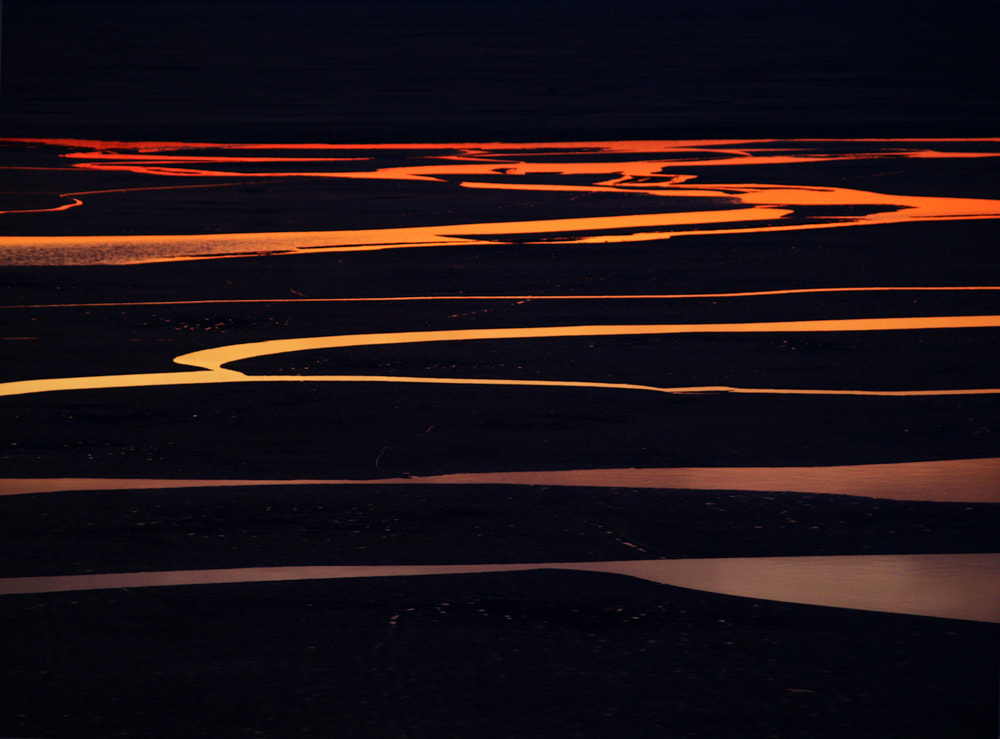 The strong linear elements and colour contrast pulled my attention from the 'big picture' that I was originally intending to shoot. Creating an abstract made for a more interesting image. Can you identify the 'literal' components in this shot? In some abstracts it's obvious and in others it is less so. (E-510, 40-150mm F3.5-4.5, ISO400, 1/6s, f/4.1) What is a Natural Abstract?
By its strictest definition abstract art "does not depict objects in the natural world, but instead uses colour and form in a non-representational way." Well, as a nature photographer that definition is a bit rigid. It can be rather difficult to photograph objects in the natural world and have them completely lose all of their literal references. Even an abstract image involving a tree will likely still be recognizable as having been photographed using that tree. The challenge in abstract photography is to move from the literal presentation of the subjects in your image (trees, rocks, waves, etc.) to creating images that are more impressionistic. There are also degrees of abstraction. Some of the images in this article are more abstract than others. There are no strict rules. The goal is not to create a purely abstract image, but to create an aesthetically pleasing photograph that allows for greater interpretation by the viewer. It's about trying to see the real world in new and interesting ways. Photography in the Forest "And into the forest I go, to lose my mind and find my soul." John Muir, Scottish American Naturalist I'm not big into quoting other authors or famous folk, but when I first read this on a bumper sticker (yes, that's right, a bumper sticker), it struck a chord. I spent my childhood, and much of my adult years, getting lost (figuratively speaking) in the forests around which I lived. Exploring my surroundings has always been a way to let go of the stresses of my daily life and find solace in the beauty of Mother Nature. Photography has become a natural extension of that desire to explore. When it comes to photographing the forest it does come with its challenges however, but those are outweighed by the countless opportunities. 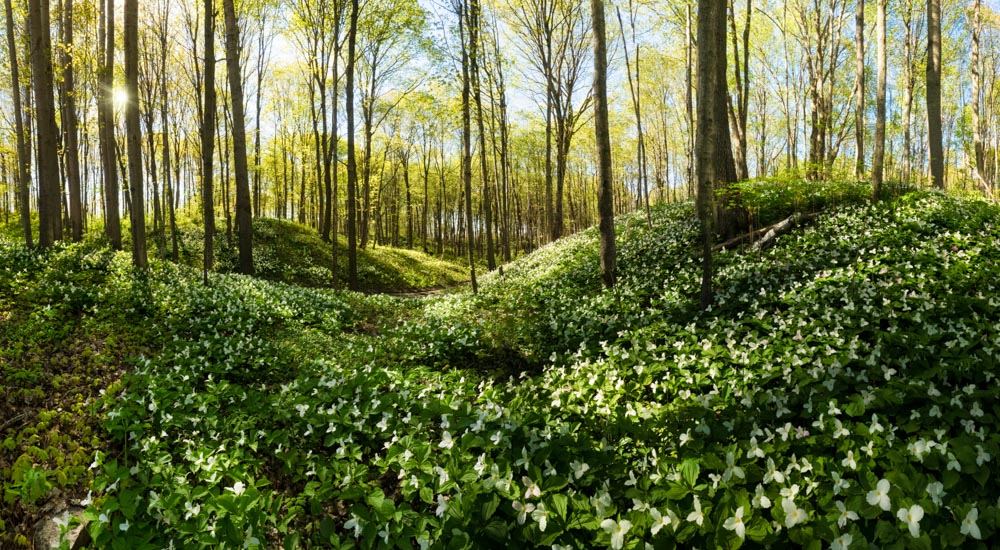 Thousands of trilliums cover the floor of this hardwood forest on Manitoulin Island in Ontario, Canada. (OM-D E-M1, M.Zuiko 12-40 F2.8 PRO, ISO400, 1/60s, f/11) The M.Zuiko 8-25mm F4 PRO Disclosure: I am an Olympus Visionary and as such, receive compensation from Olympus America. However, no compensation was paid for this review. I endorse their products because I truly believe in the quality of their gear. I'm an extreme photographer. Let me explain that statement before you get the wrong idea. When it comes to focal lengths, I like to work at the extremes - either ultra-wide, for my landscape shooting, or super telephoto for wildlife. Recently, Olympus released two amazing long lenses, so the telephoto range is nicely covered with a number of options. That wasn't the case when it came to ultra-wide choices. The release of the M.Zuiko 8-25mm F4 PRO changes that. Up to now, if you wanted to capture 'the big picture' you had two lenses to choose from, the M.Zuiko 7-14mm F2.8 PRO or the 8mm F1.8 Fisheye PRO. Both of these lenses are in my kit and have served me well. The release of the new 8-25mm F4 PRO now adds another ultra-wide option. 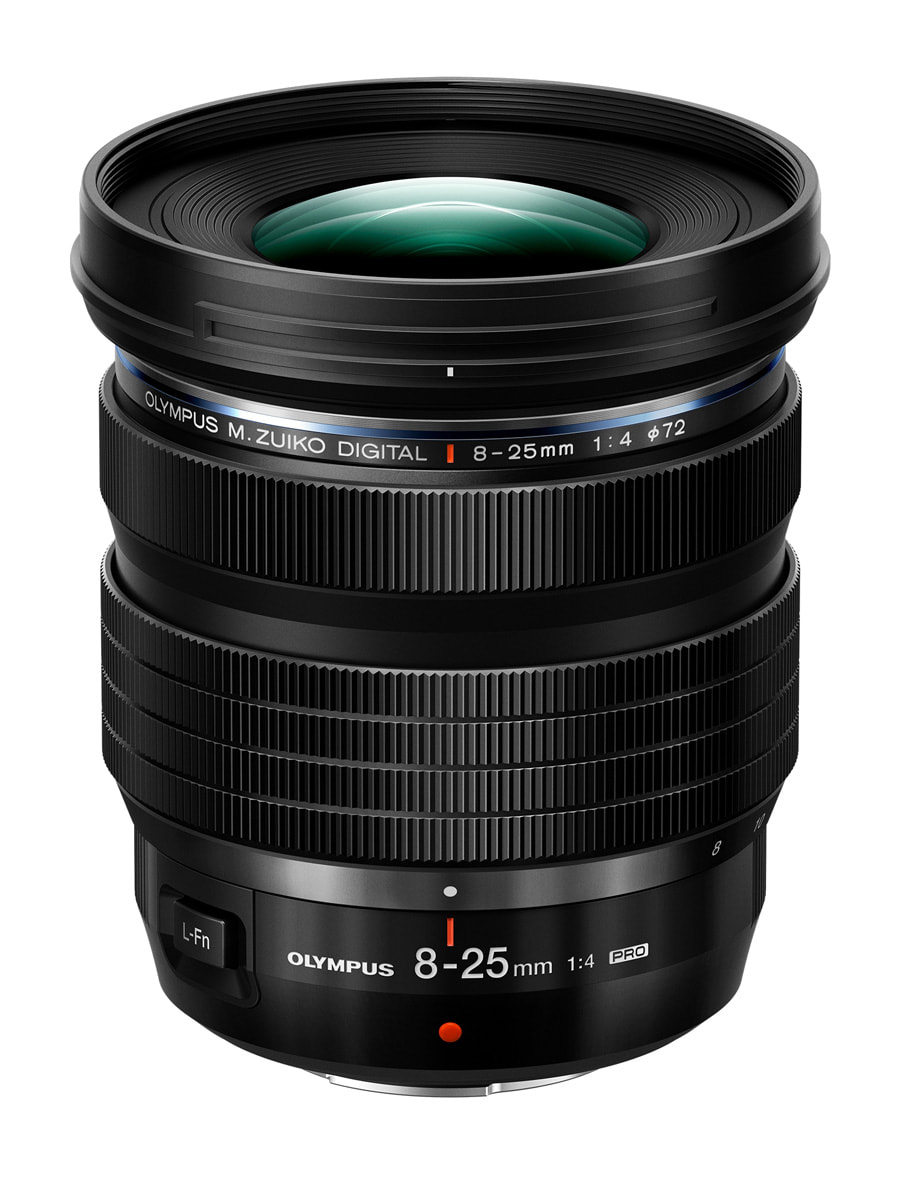 The latest lens offering from Olympus - the M.Zuiko 8-25mm F4 PRO covers the equivalent of 16-50mm, a range of focal lengths that most landscape photographers will appreciate. The Story behind the Photo I like old windows. You know the type; the grid-style with several lites often found in historic colonial homes. They have character. Some time ago I picked one up at my local landfill. It was in excellent condition and I was looking forward to using it as a frame for one of my prints. Not quite ready for it, I put it in my garage, and there it sat and sat and... Every time I looked at it I thought, "Oh yeah, I've got to do something with that window." But soon, another idea for its use crept into my head... For those of us who live indoors (and I'm guessing that includes you), our windows provide one of our main views of the outside world. I wanted to create a concept shot with a window floating in the air through which we could view the world beyond. Now, this could be done by simply creating a composite image - photograph the window against a plain background and, using some Photoshop trickery, superimpose it over your scene. Well, that seemed too easy. I wanted the window to actually be 'floating' in the air. Unfortunately, my "use the force" skills are rather poor, so I would have to come up with a way of suspending the window in an outdoor scene. And, given my love of astro-landscape photography, I wanted this project to involve the night sky. 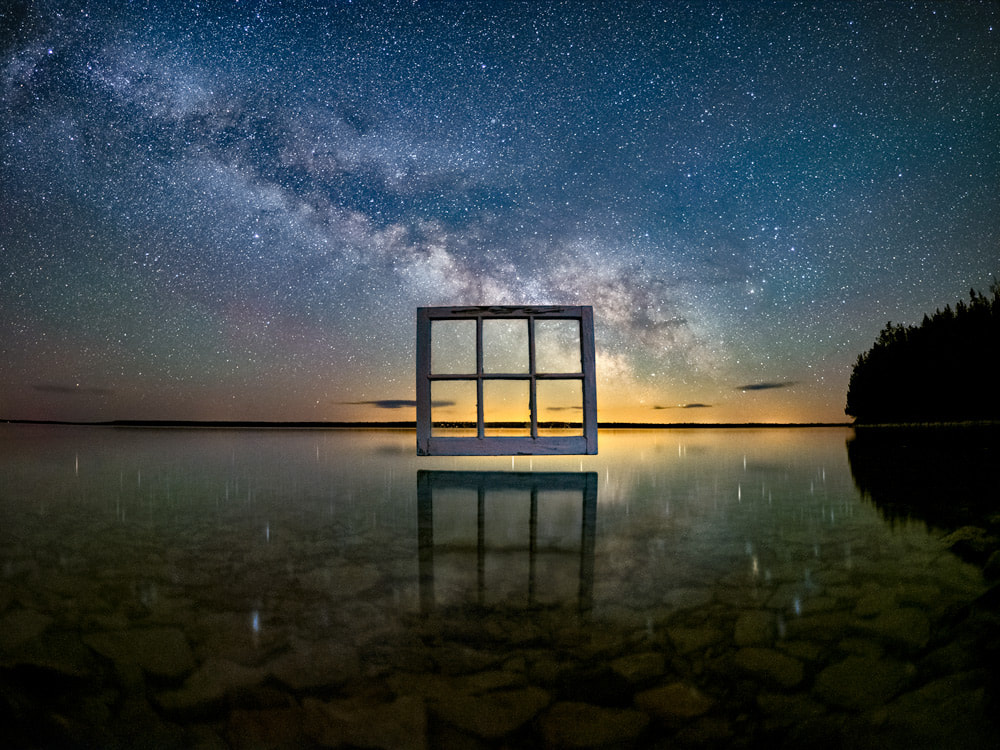 This 'floating window' idea had been in my head for awhile. The challenge was coming up with a way to make it as authentic an image as possible. (Olympus OM-D E-M1 Mark III, 8mm F1.8 Fisheye PRO - ISO3200, 20s, f/1.8) An Amazing Camera Bag just Got Better! A few years ago I picked up the original Prvke 21 pack and fell in love with it, so when WANDRD reached out to me to see if I would be interested in receiving their latest version for free, I jumped at the chance. I've been a fan of the original for some time and there was no expectation of a review, nor did any money change hands. That said, it's been on my mind for some time to share my impressions, so this seemed like a perfect opportunity. I love this bag, but I will also be honest about its short-comings. 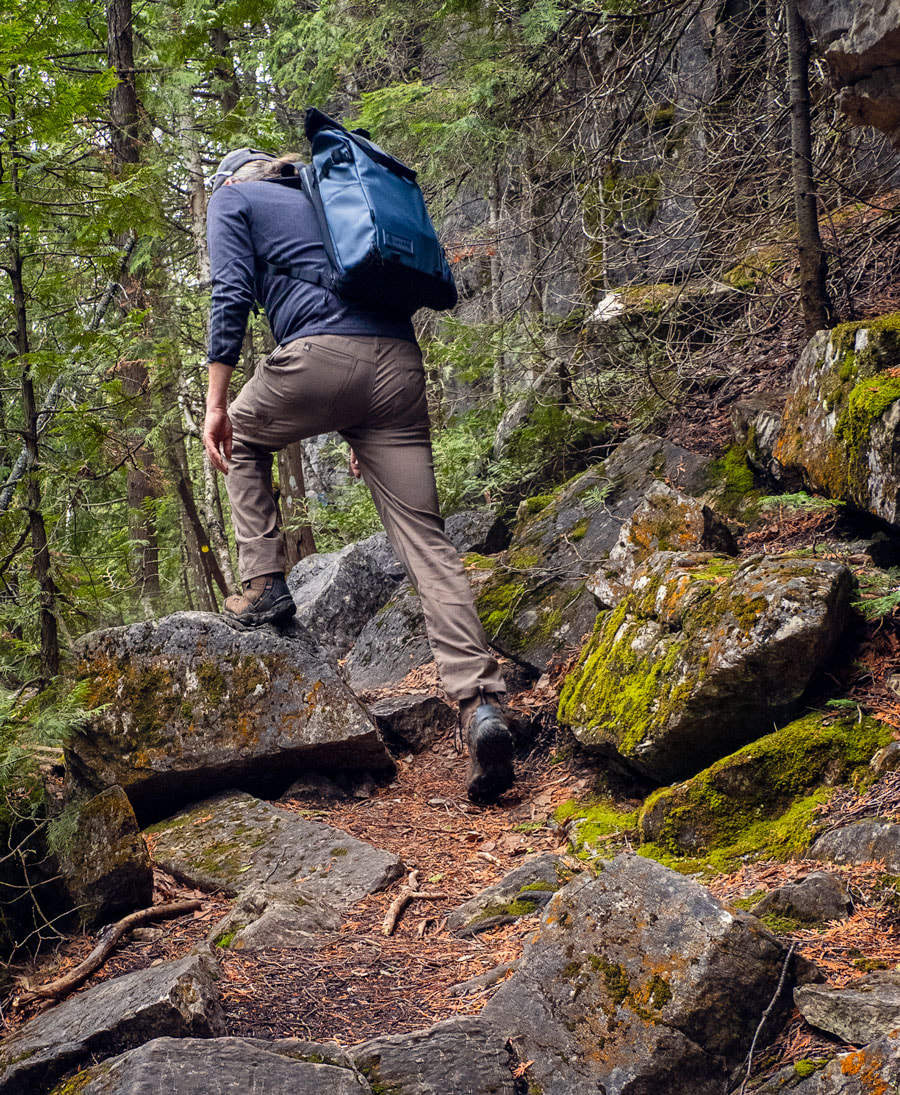 Most of my photographic journeys involve hiking or paddling to a location. For me, the Prvke21 has been the perfect companion to carry my gear. The Olympus E-M5 Mark III and the 12-45mm f/4 PRO Disclosure: I am an Olympus Visionary and as such, receive compensation from Olympus America. However, no compensation was paid for this review. I endorse their products because I truly believe in the quality of their gear. When Olympus sent me the E-M5 Mark III and the 12-45mm f/4 I was certainly pleased to get this new camera and lens. But to be honest, I was rather hesitant to shoot with them. After all, I was very happy with the E-M1 Mark III and 12-100mm combination that I'd been using for quite some time. What could this new combination offer me that I wasn't already getting from their pro-level body and my workhorse lens? After about 3 months with it on my shelf I finally decided it was time to 'kick the tires' and see what it could deliver. It was also the start of the pandemic and I needed a creative boost, since travel was out of the question, and many of my local attractions were also shut down. So, on a rather grey March morning I grabbed an umbrella, a tripod, and the E-M5 Mark III and the 12-45mm lens and headed down to the still-frozen bay near where I live, to see what I could create. I set the camera up on the tripod, fairly low to the ice, engaged the time-lapse feature and began moving the umbrella around and tossing it up in the air (I'm sure that I looked like a complete fool!). This craziness lasted about 10 minutes, and after a bit of editing finally lead to this image... 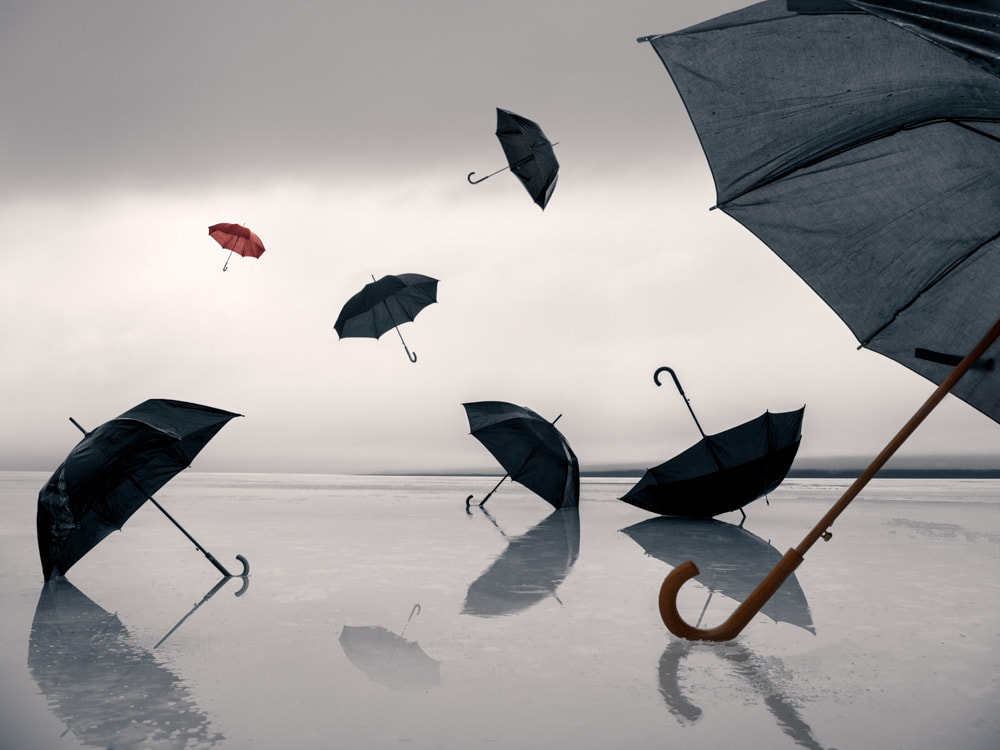 This composite image was created using seven separate photos, all shot with the E-M5 Mark III and the m.Zuiko 12-45mm f/4 and assembled in Photoshop. (ISO200, 1/125s @ f/7,1) This was my first creation with the 5iii and 12-45. I was pleased with the results, however a bit more time would pass before I was convinced that this pairing would truly meet my needs. But, more on that later. Now it's time for some introductions.
Why You Should Use a Telephoto Lens in your Landscape Photography A few years ago, my wife and I went on a fall driving tour through part of Northern Ontario. After a great day of shooting we stopped at a beautiful lakeside restaurant, walked in, were seated by the waitress, and each handed a menu. After a cursory look at the offerings I glanced out the restaurant window and saw a photo opportunity that I just couldn't pass up. I put the menu down, told my wife to order something for me, and rushed out of the restaurant. (I'm certain that the waitress thought we'd had a fight.) I grabbed my camera gear out of the car and quickly headed down to the shoreline. After a few setting changes, and some work with composition, I clicked the shutter release and got this shot... 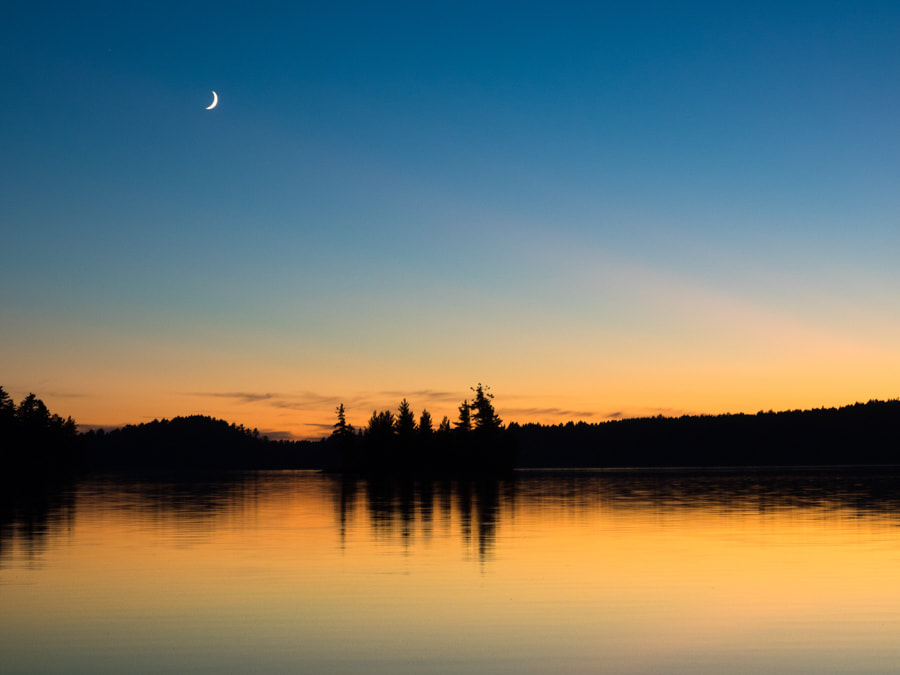 (Olympus E-M1, 40-150mm f/2.8 PRO, 60mm @ ISO400, 0.8s, f/7.1) I liked the shot, so I packed the gear back into the car and headed into the restaurant where a wonderful pickerel dinner was waiting for me with a nice glass of wine.
Testing the Olympus 150-400mm f/4.5 TC1.25x IS PRO Disclosure: I am an Olympus Visionary and as such, receive compensation from Olympus America. Although compensation was paid for this review, I endorse their products because I truly believe in the quality of their gear Okay, let's cut to the chase. This lens rocks! It really does. I've shot with practically every lens made by Olympus for the micro 4/3s system and each one is built to very high standards. But the m.Zuiko ED 150-400mm f/4.5 TC1.25x IS PRO (now, there's a mouthful) stands out amongst these. I'll get to why in a moment, but just a reminder that this isn't a formal review. These are my first impressions based on 5 days of shooting with the lens. When Olympus offered to send me a pre-production copy I was quite hesitant. We were heading into wintery weather, most of the migratory birds in my area had long gone, and finding other wildlife would be a real challenge. Plus, I would have the only one in North America (oh, the pressure!) In the end however, I'm so glad that I accepted the invite because this lens is exceptional! 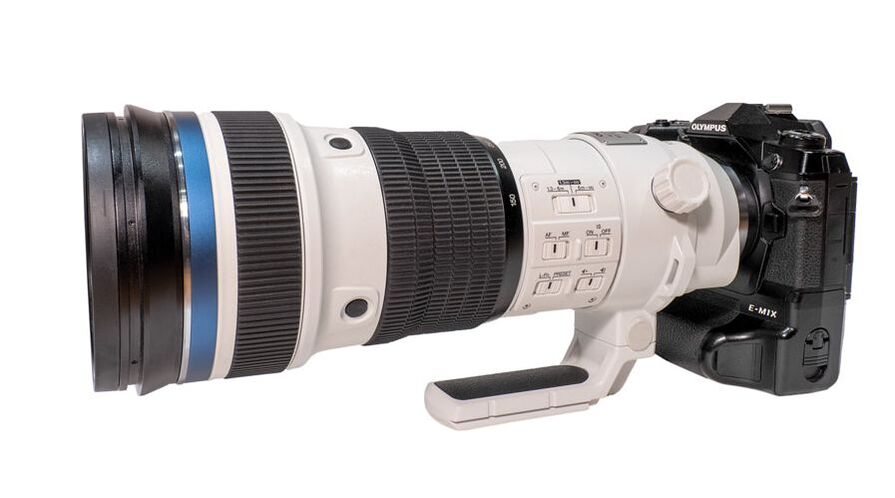 |